7 minutes reading | Também disponível em 🇧🇷
Assembling an Iris Rev4
It’s been a while since I’m looking for a keyboard that would be great to take with me when I’m not working from home for some days. I finally found the Iris keyboard that seems to be exactly what I’m looking for.
The need
I currently have a Kinesis Advantage at home. The keyboard is great, probably the best keyboard I used so far, but it’s far from what we can call portable 😅. I needed a keyboard I could take with me when I wanted, so I started a quest to find it.
- I bought a typematrix keyboard but it was not good enough (not even mechanical).
- I had a HHKB Lite but I wanted a mechanical keyboard (it uses rubber dome).
- I bought a Pok3r keyboard but it was too heavy for what I wanted.
- I bought an Atreus keyboard but found that a 40% layout was too small for my needs
Then I found the Iris keyboard, which seems to be the perfect size between the Atreus and Kinesis keyboards. The problem is that it’s a DIY keyboard and I had zero experience with anything electronic.
Talking to some friends I found that the Iris is the easy mode of DIY keyboards, so I decided to give it a try.
Pieces and prices
I had to buy the following pieces to be able to do it:
- 1 x DSA Keycaps: $23.50
- 5 x Cherry MX Clear Keyswitch (10 pack): $50
- 1 x Iris Keyboard - Case/Plates: $27.99
- 1 x Iris Keyboard - PCBs for Split Ergonomic Keyboard: $59.99
- 1 x TRRS Cable - Black Coiled: $7.98
- Shipping costs: $6.10 (keeb.io) + $30 to ship it to Brazil (the final value is R$125 in my local currency)
- 1 Multimeter: R$37,00
- 1 Soldering kit (soldering iron, desoldering pump, soldering iron stand, tin wire tube): R$88,00
- Acrylic Middle layers: $30.00 (bought after the keyboard was assembled as it’s optional)
The sum is about $234.60 + R$125,00 (~30 USD). I believe I spent around 280 USD to build the keyboard. In my local currency, using the current conversion (it may have been different when I first bought the needed components), it’s around R$1400,00.
I had some credits on Amazon and the currency was not that bad at the time. The effective value considering the credits was about R$800,00 which is still almost 4/5 of the minimum wage here in Brazil.
Assembling
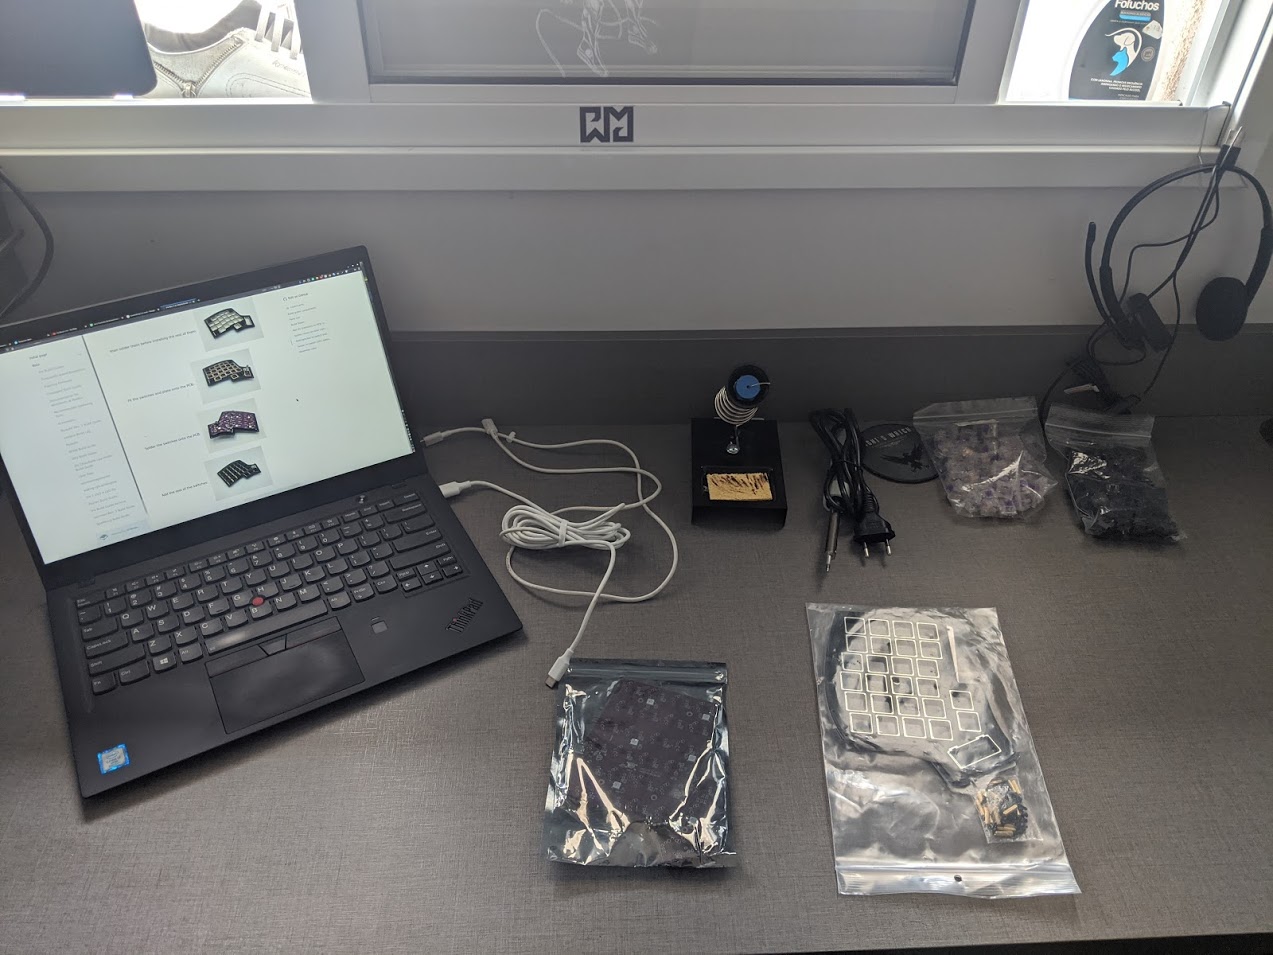
Again, I would like to mention that I had 0 experience with anything electronic, so it was a amazing how noob I was. :)
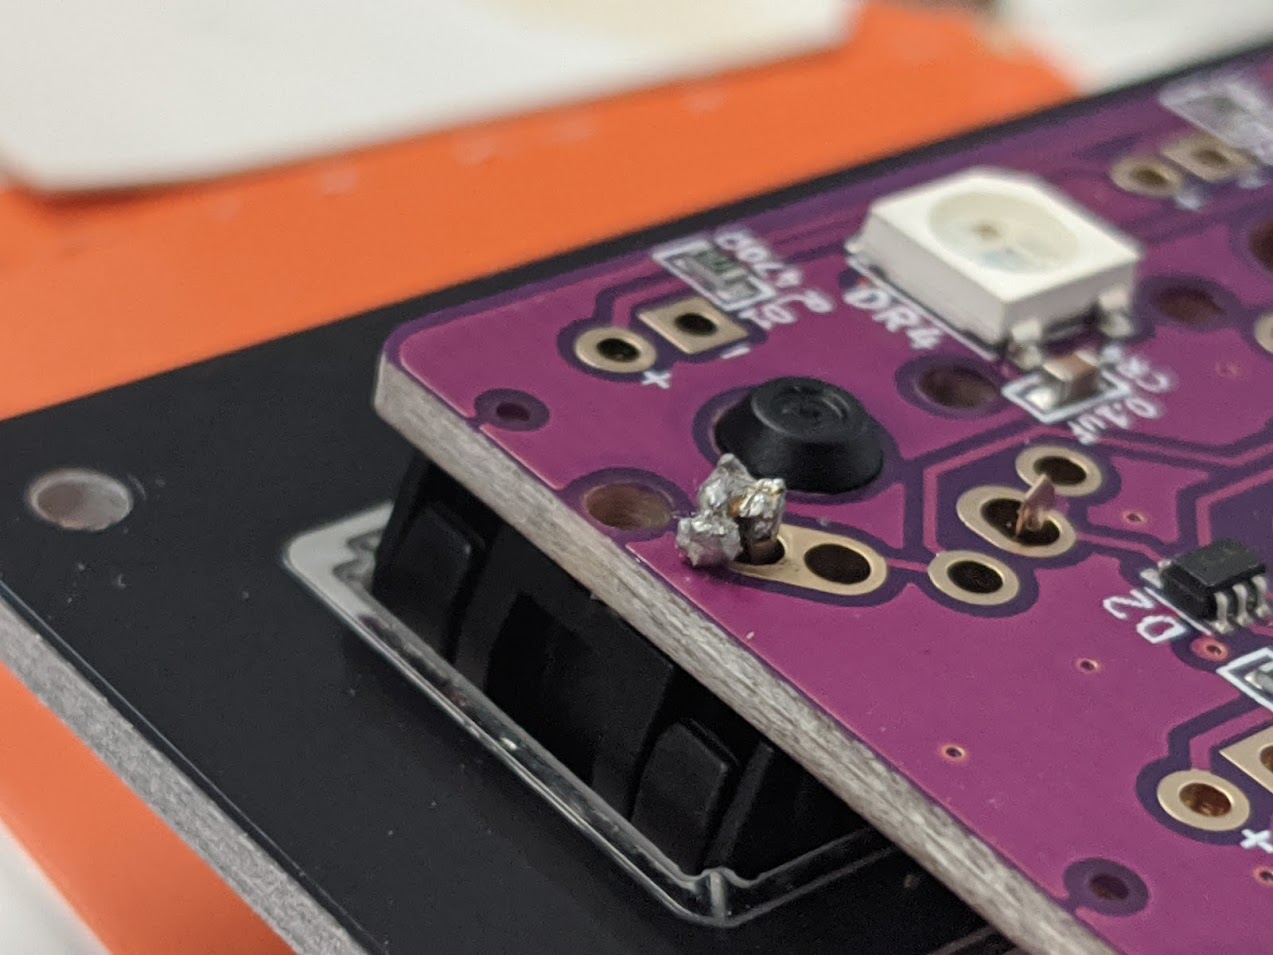
This was my first soldering. Not something I’m proud of but something I laugh about today.
A friend of mine recommended me to use a fan to avoid inhaling the melted tin, so I was doing that. It just took me a while to realize that my fan was actually cooling the tin and the soldering iron making the whole process harder to do. If this is your case, be careful with your fan.
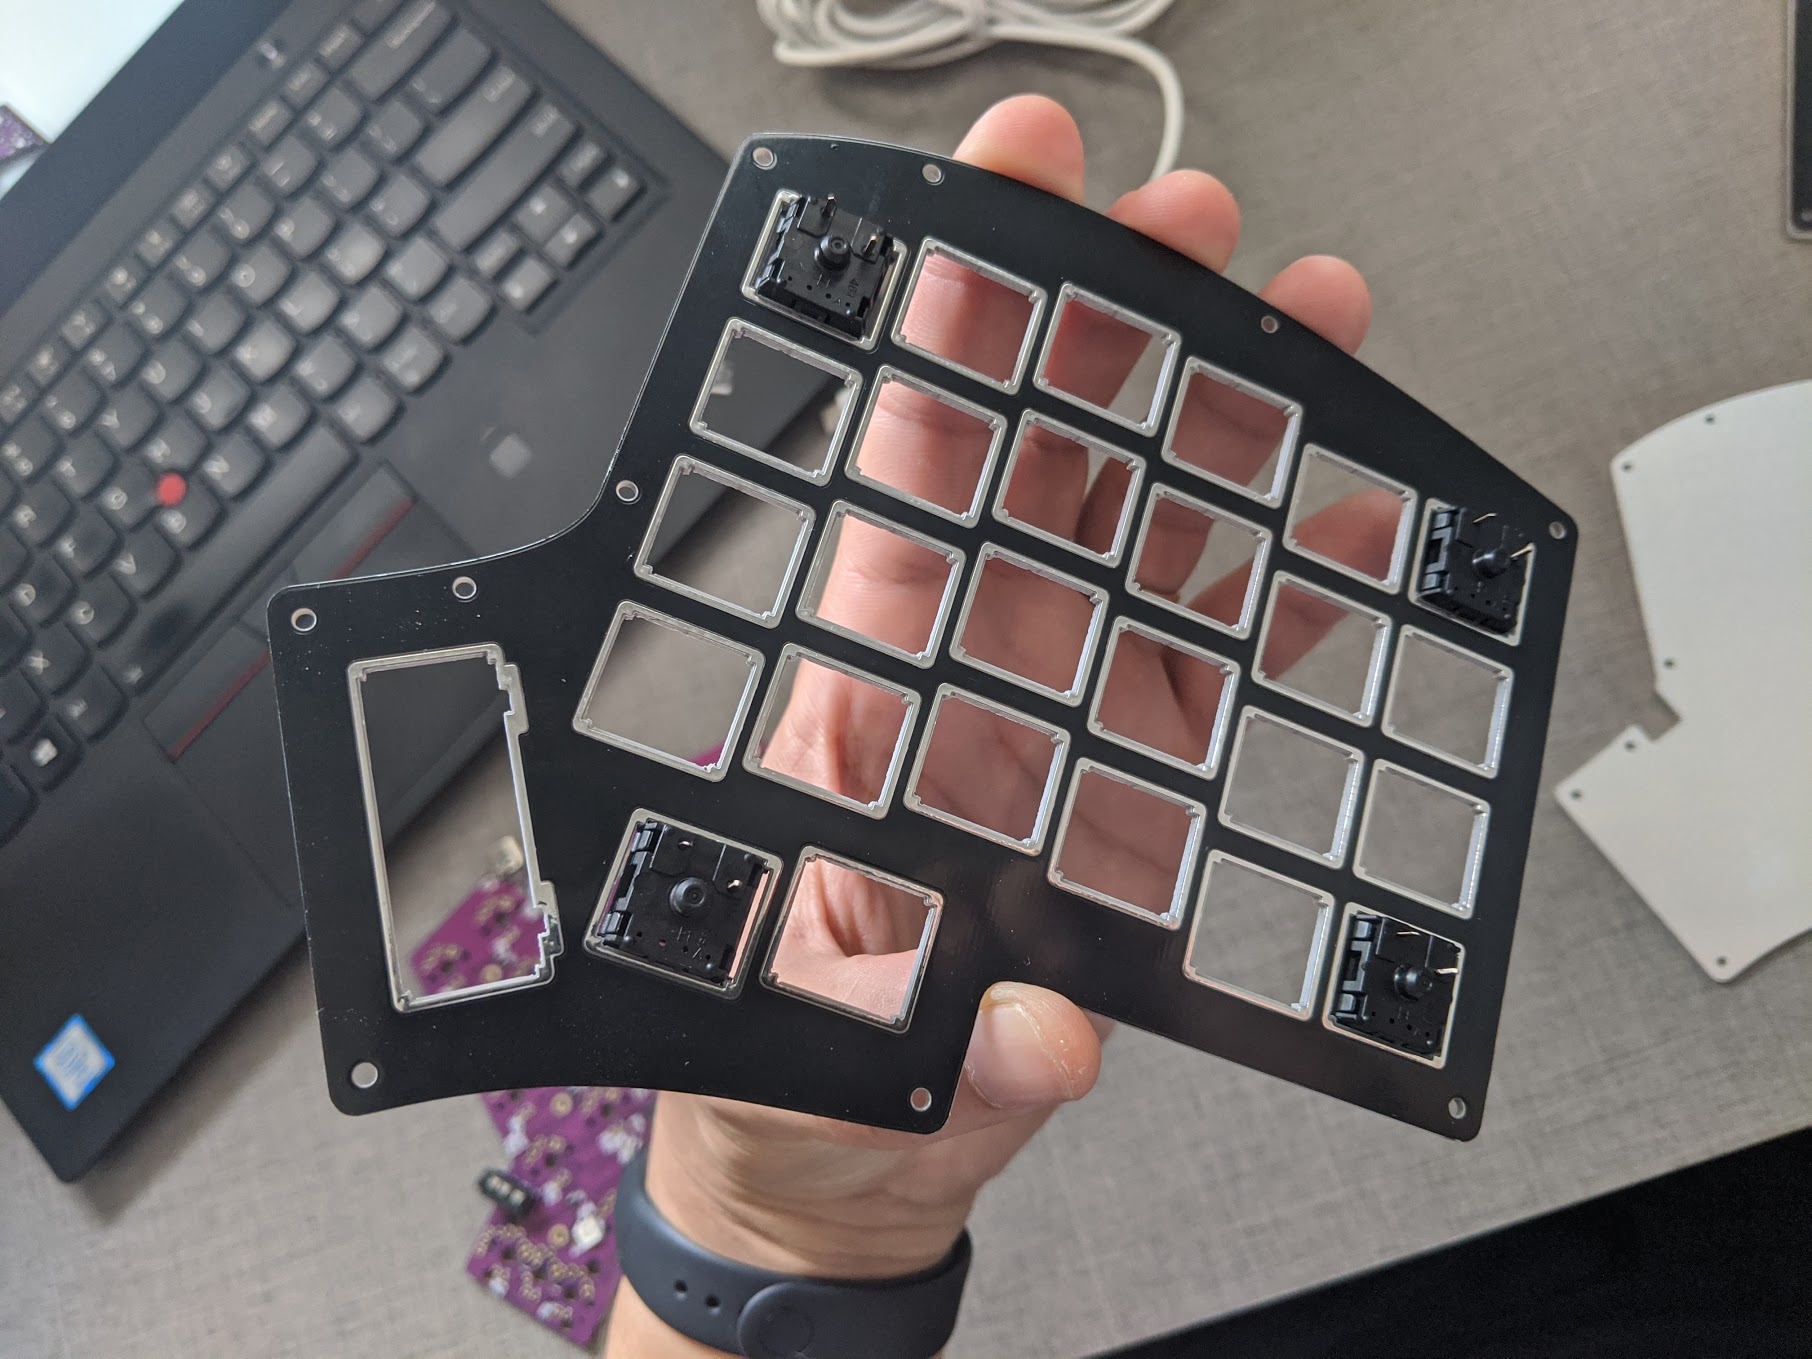
It’s recommended to first do the soldering for the corner switches so it’s easy to change anything in case the position is wrong somehow.
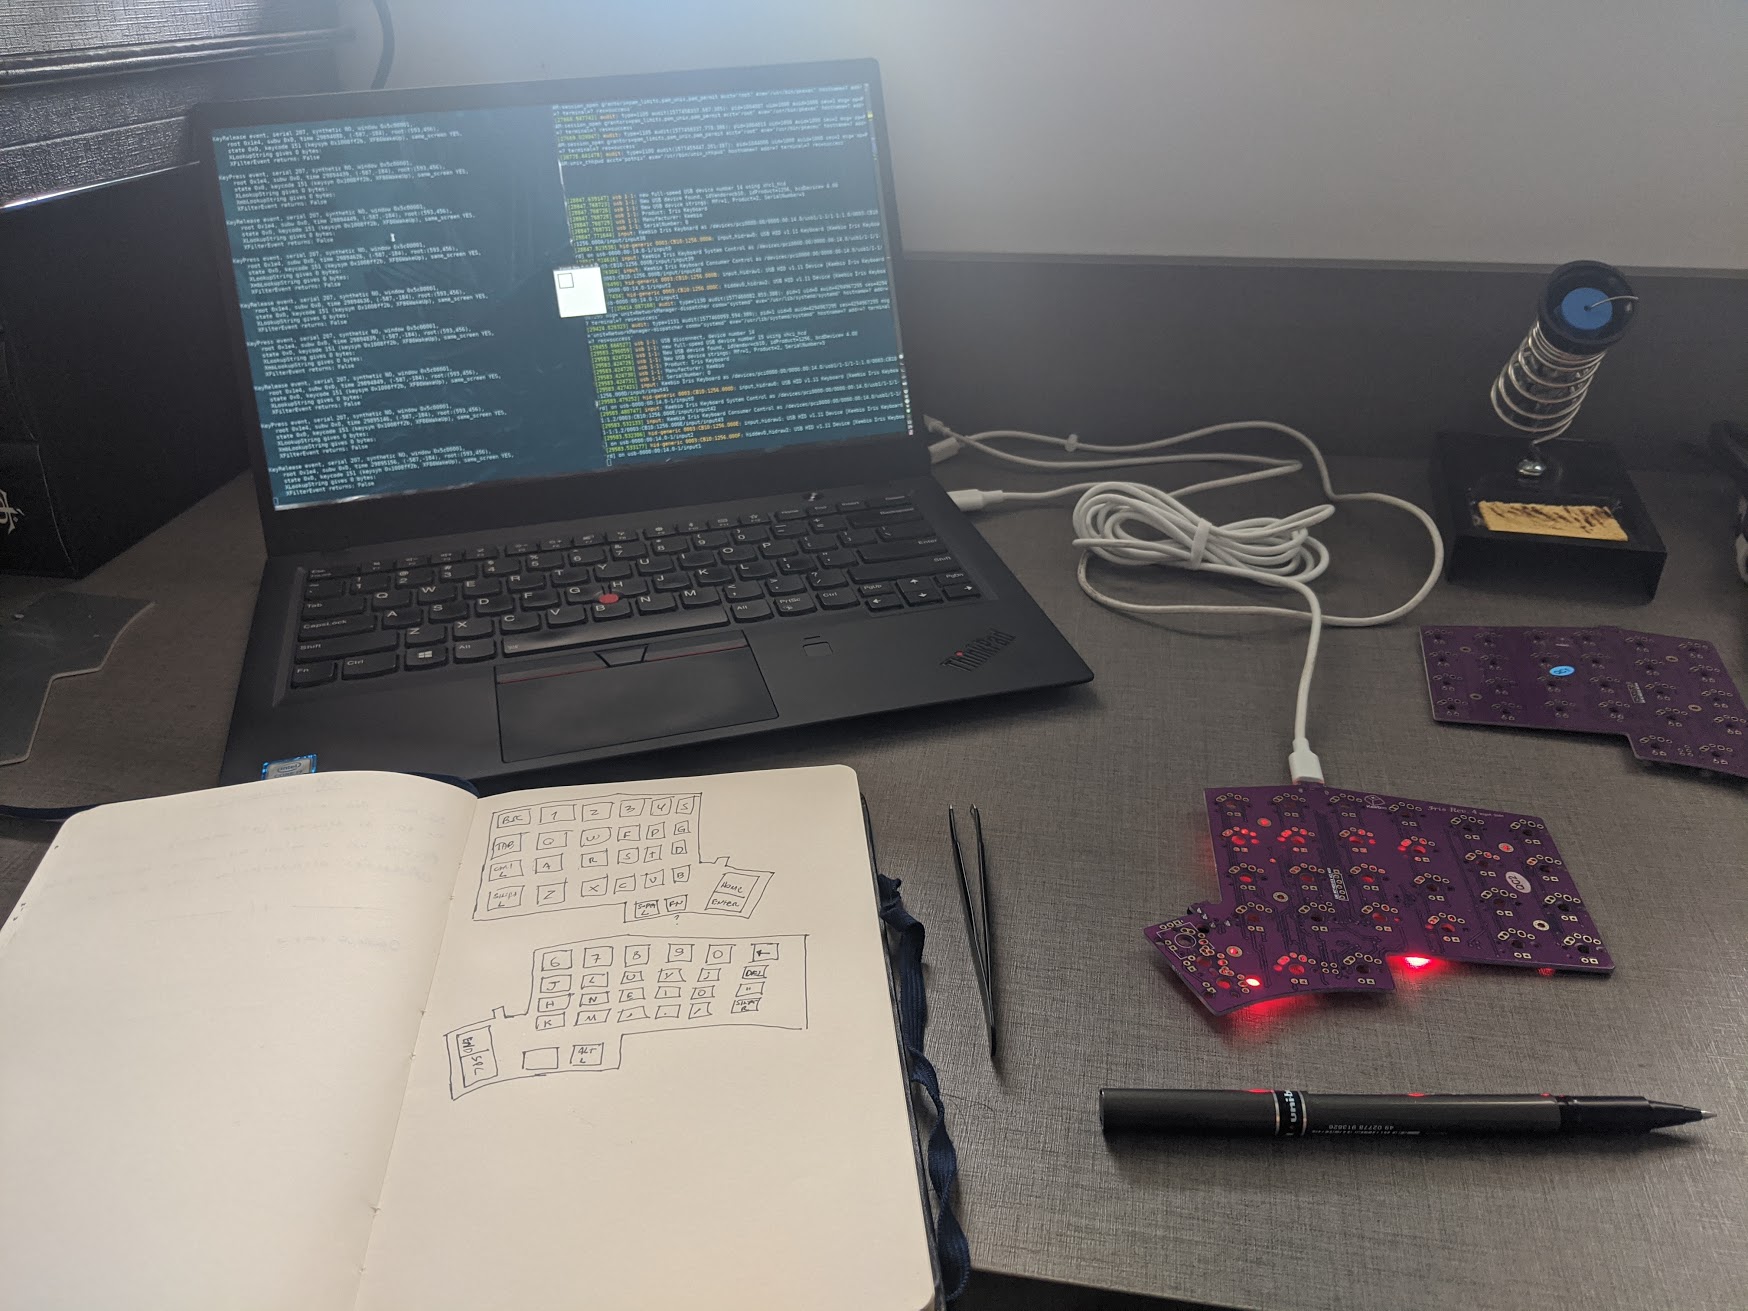
I first checked if all the connections for the switches were working correcly.
I just used a tweezer to close the connection and get the signal on xev. Keep
in mind that the fn keys do not emit any signal and it doesn’t mean it’s not
working. 😉
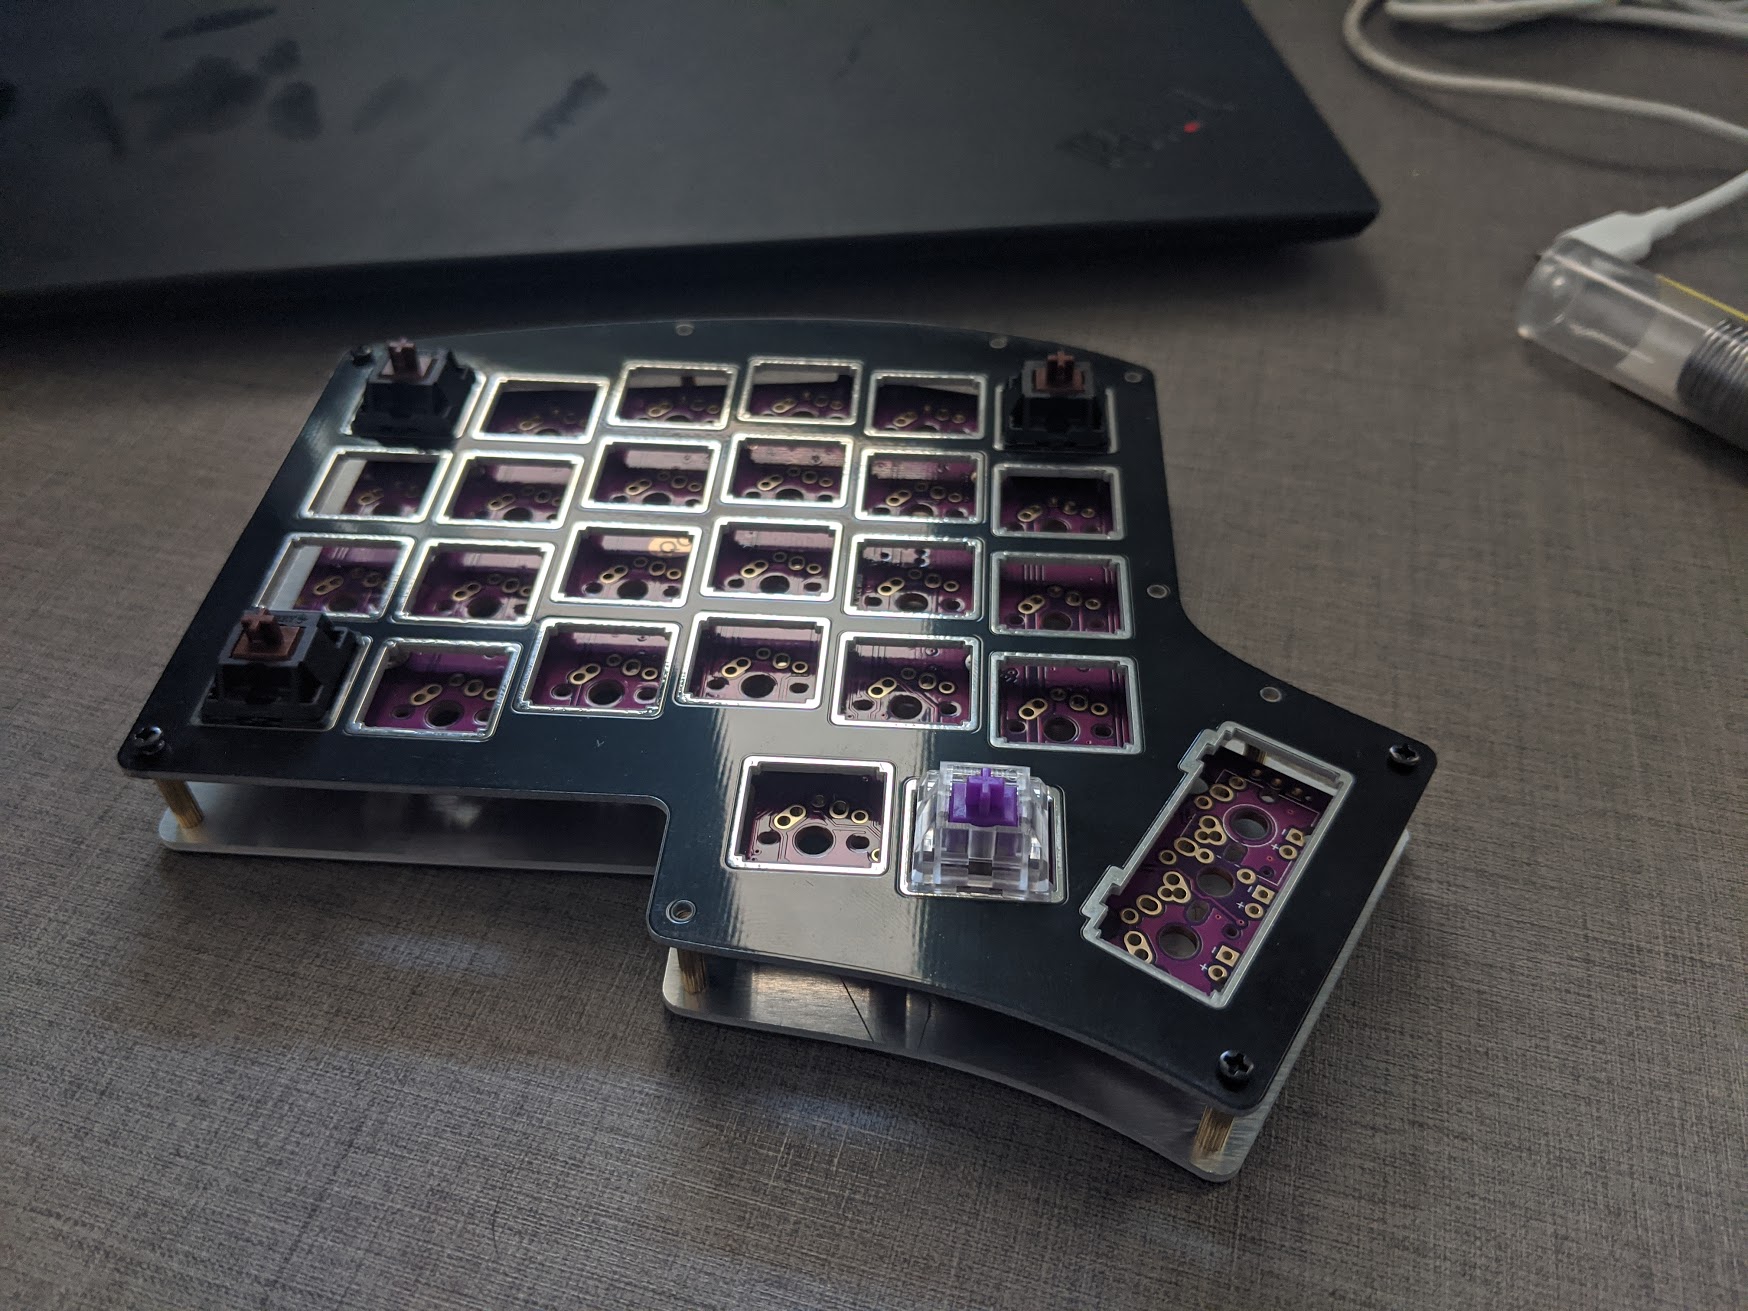
The four switches were soldered and I did the initia mounting to be sure everything is in place. I’m using brown switches for almost all keys, except the modifiers where I’m using outemu purple switches.
It seems like a planned change but I did that to avoid buying another set of switches and a friend (thanks rhruiz!) kindly gave me these outemu purple to complete my set.
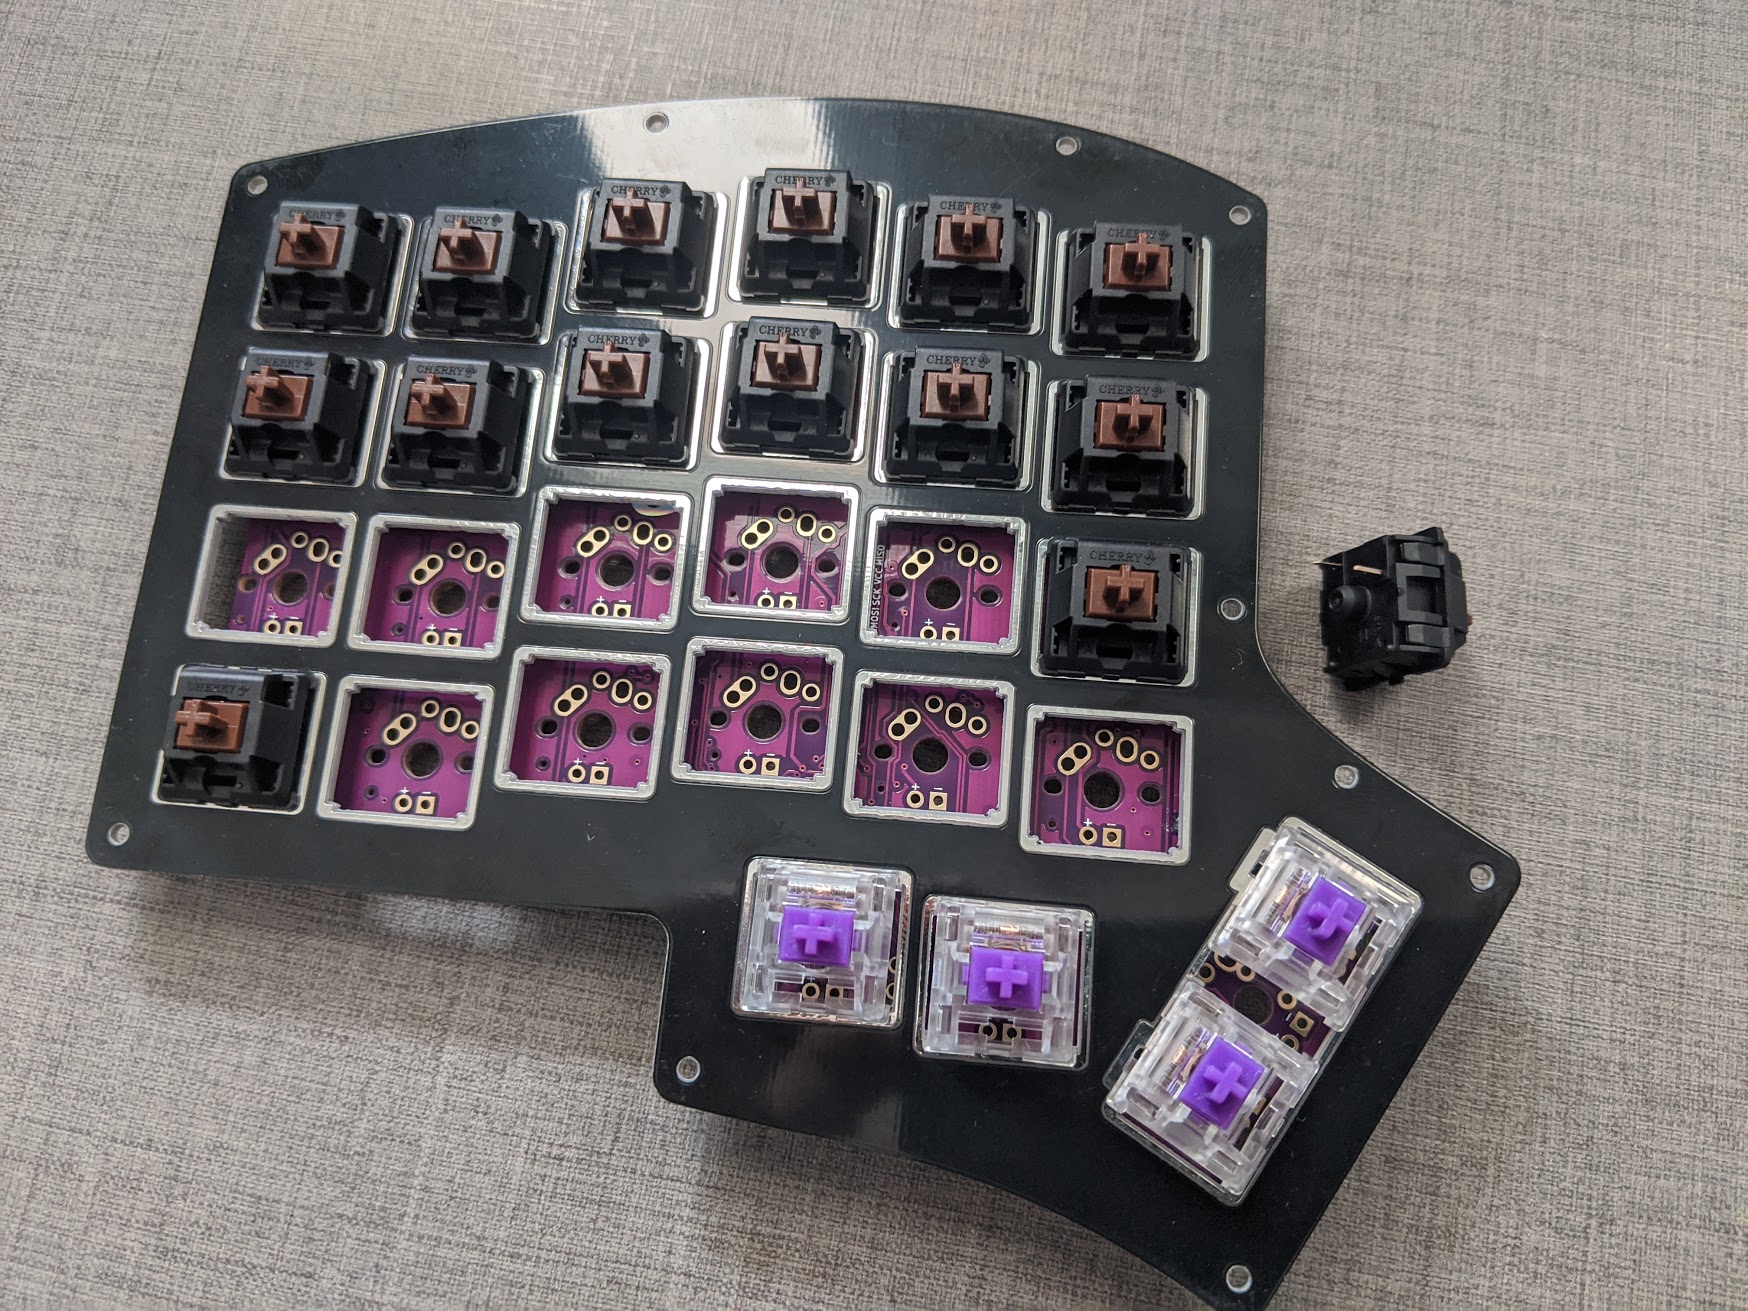
It’s time to insert all switches.
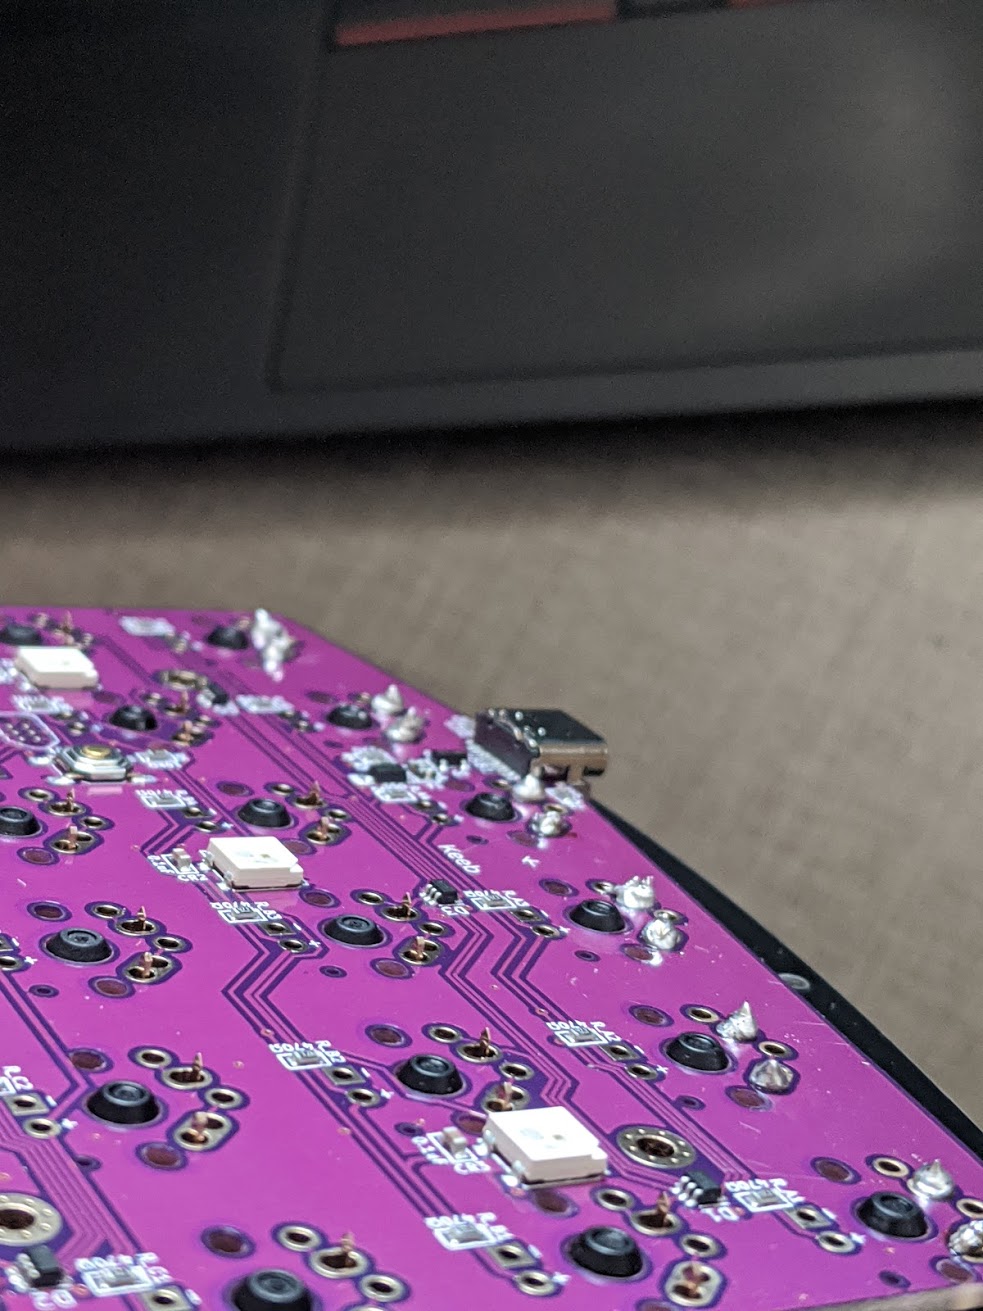
Soldering time! The soldering is not great but it’s the best I could do on my first attempt. :)
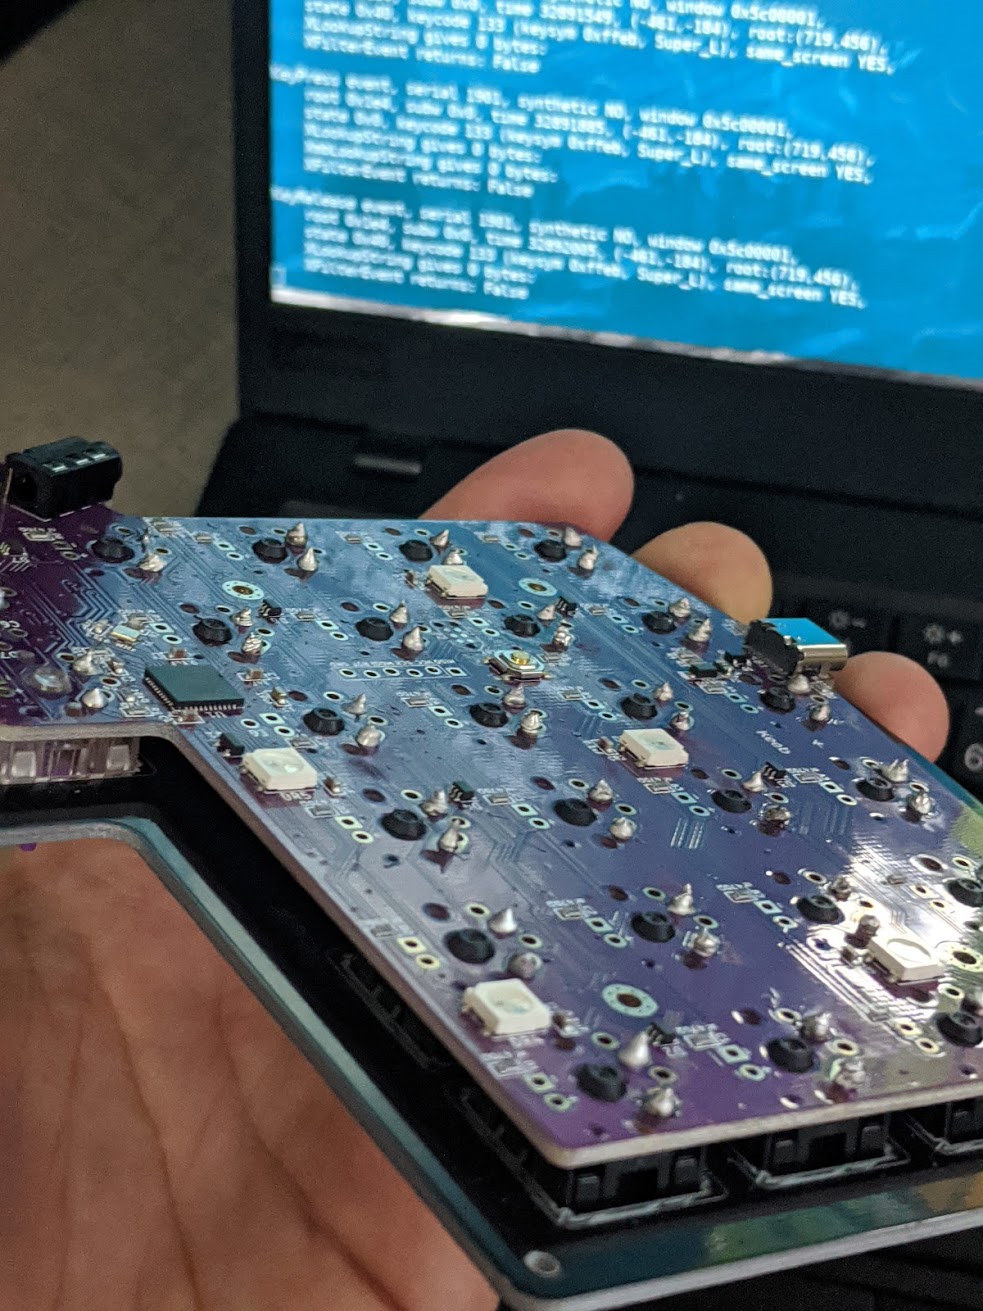
The left side is done!
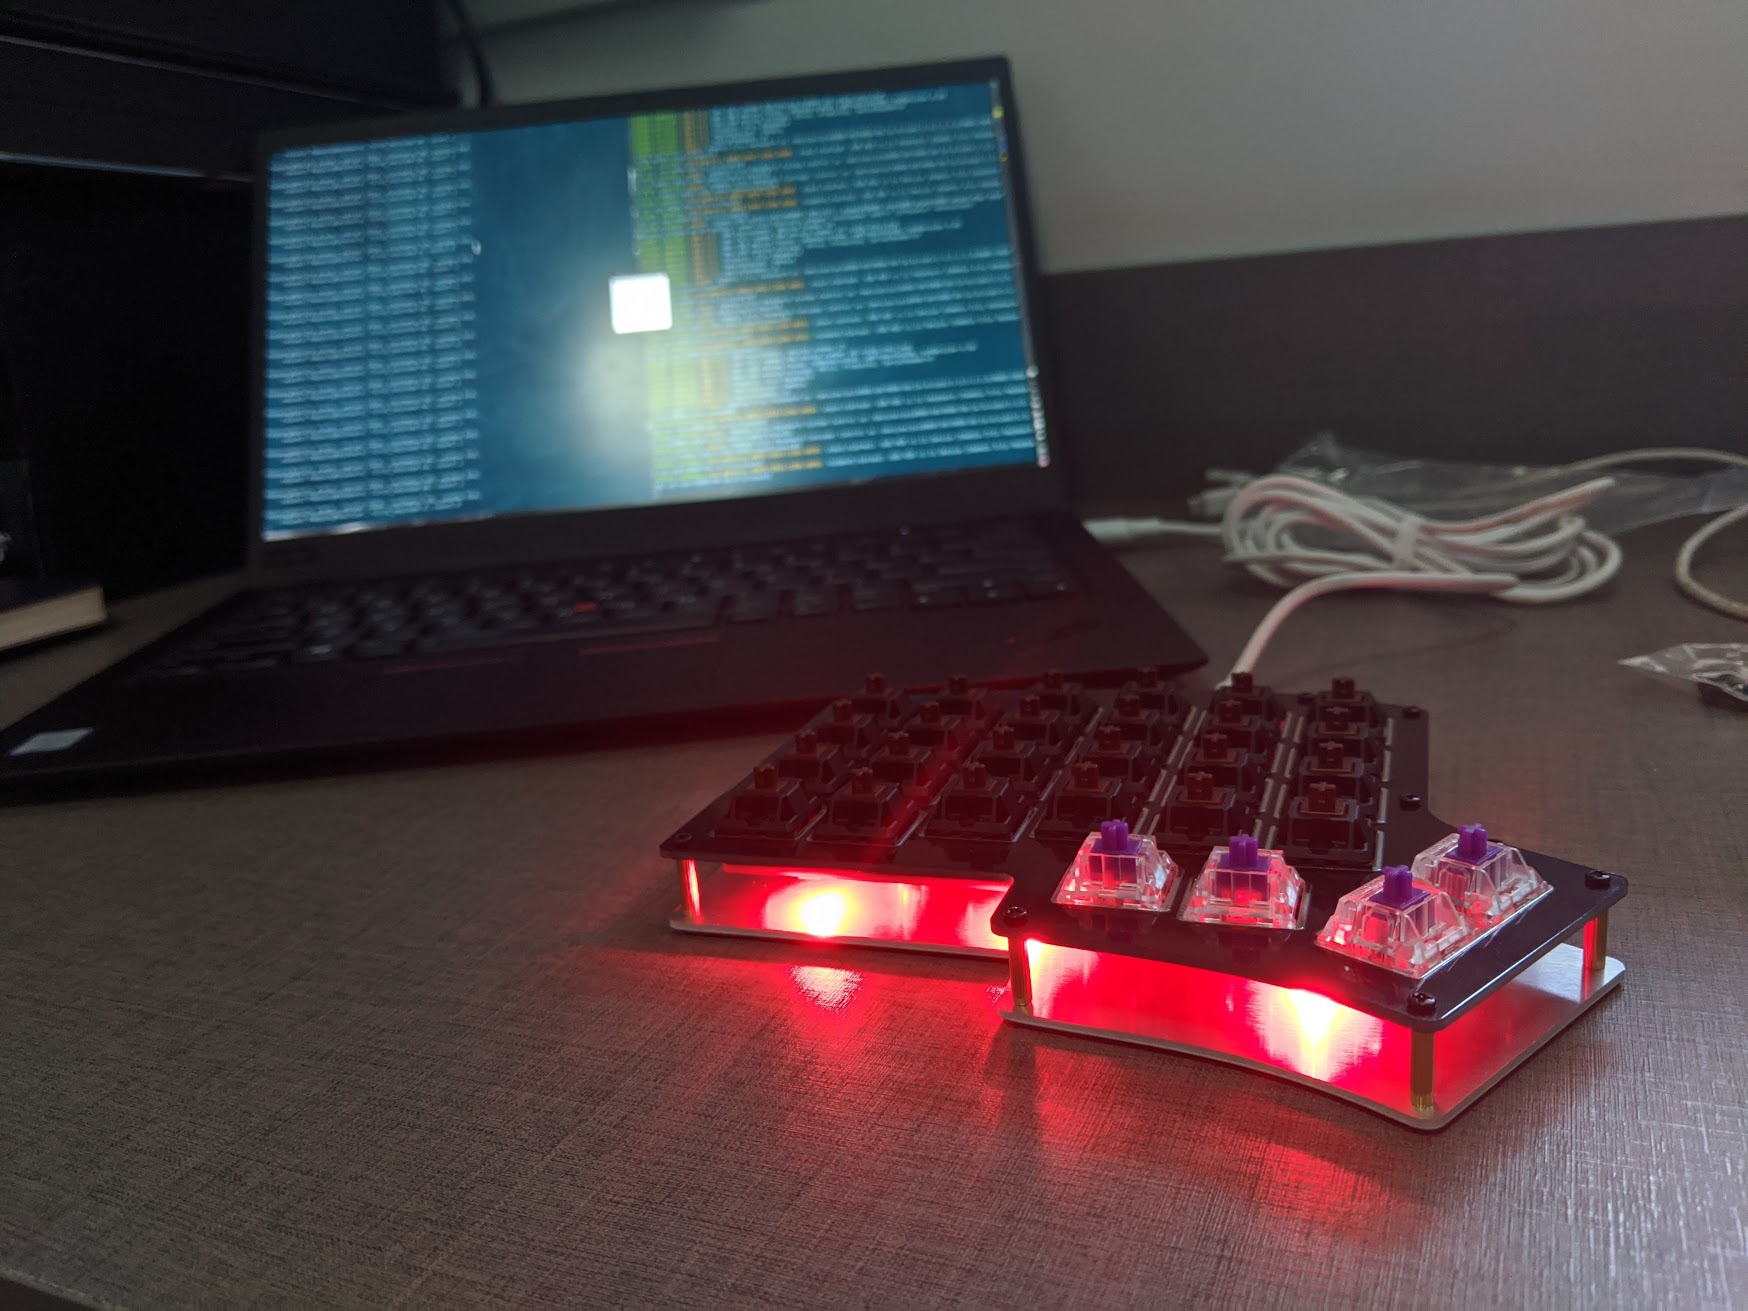
Testing all the switches using xev just to be sure the soldering is working (spoiler: it is!)
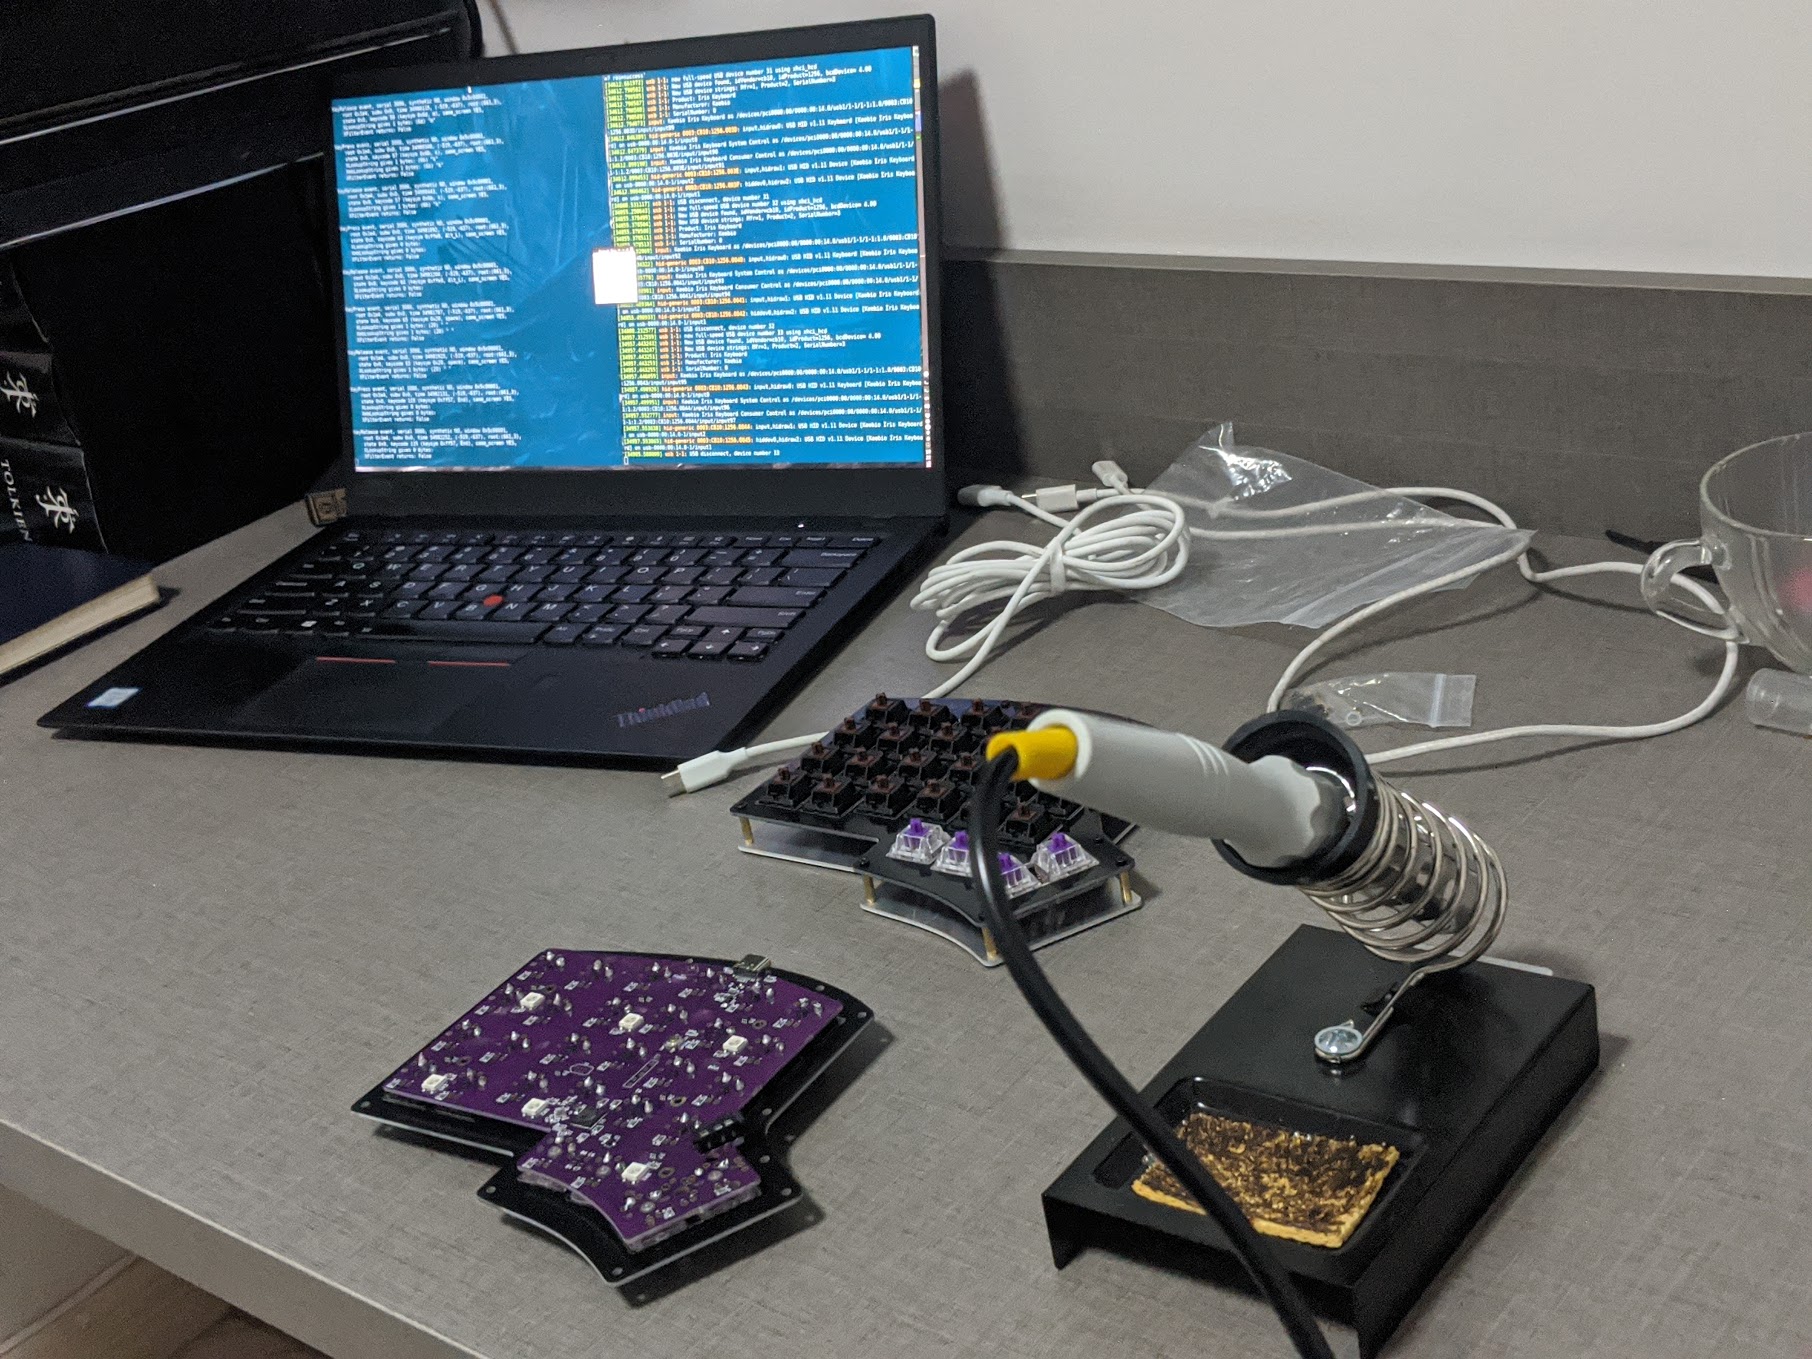
It’s time to do the soldering on the right side. Same process.
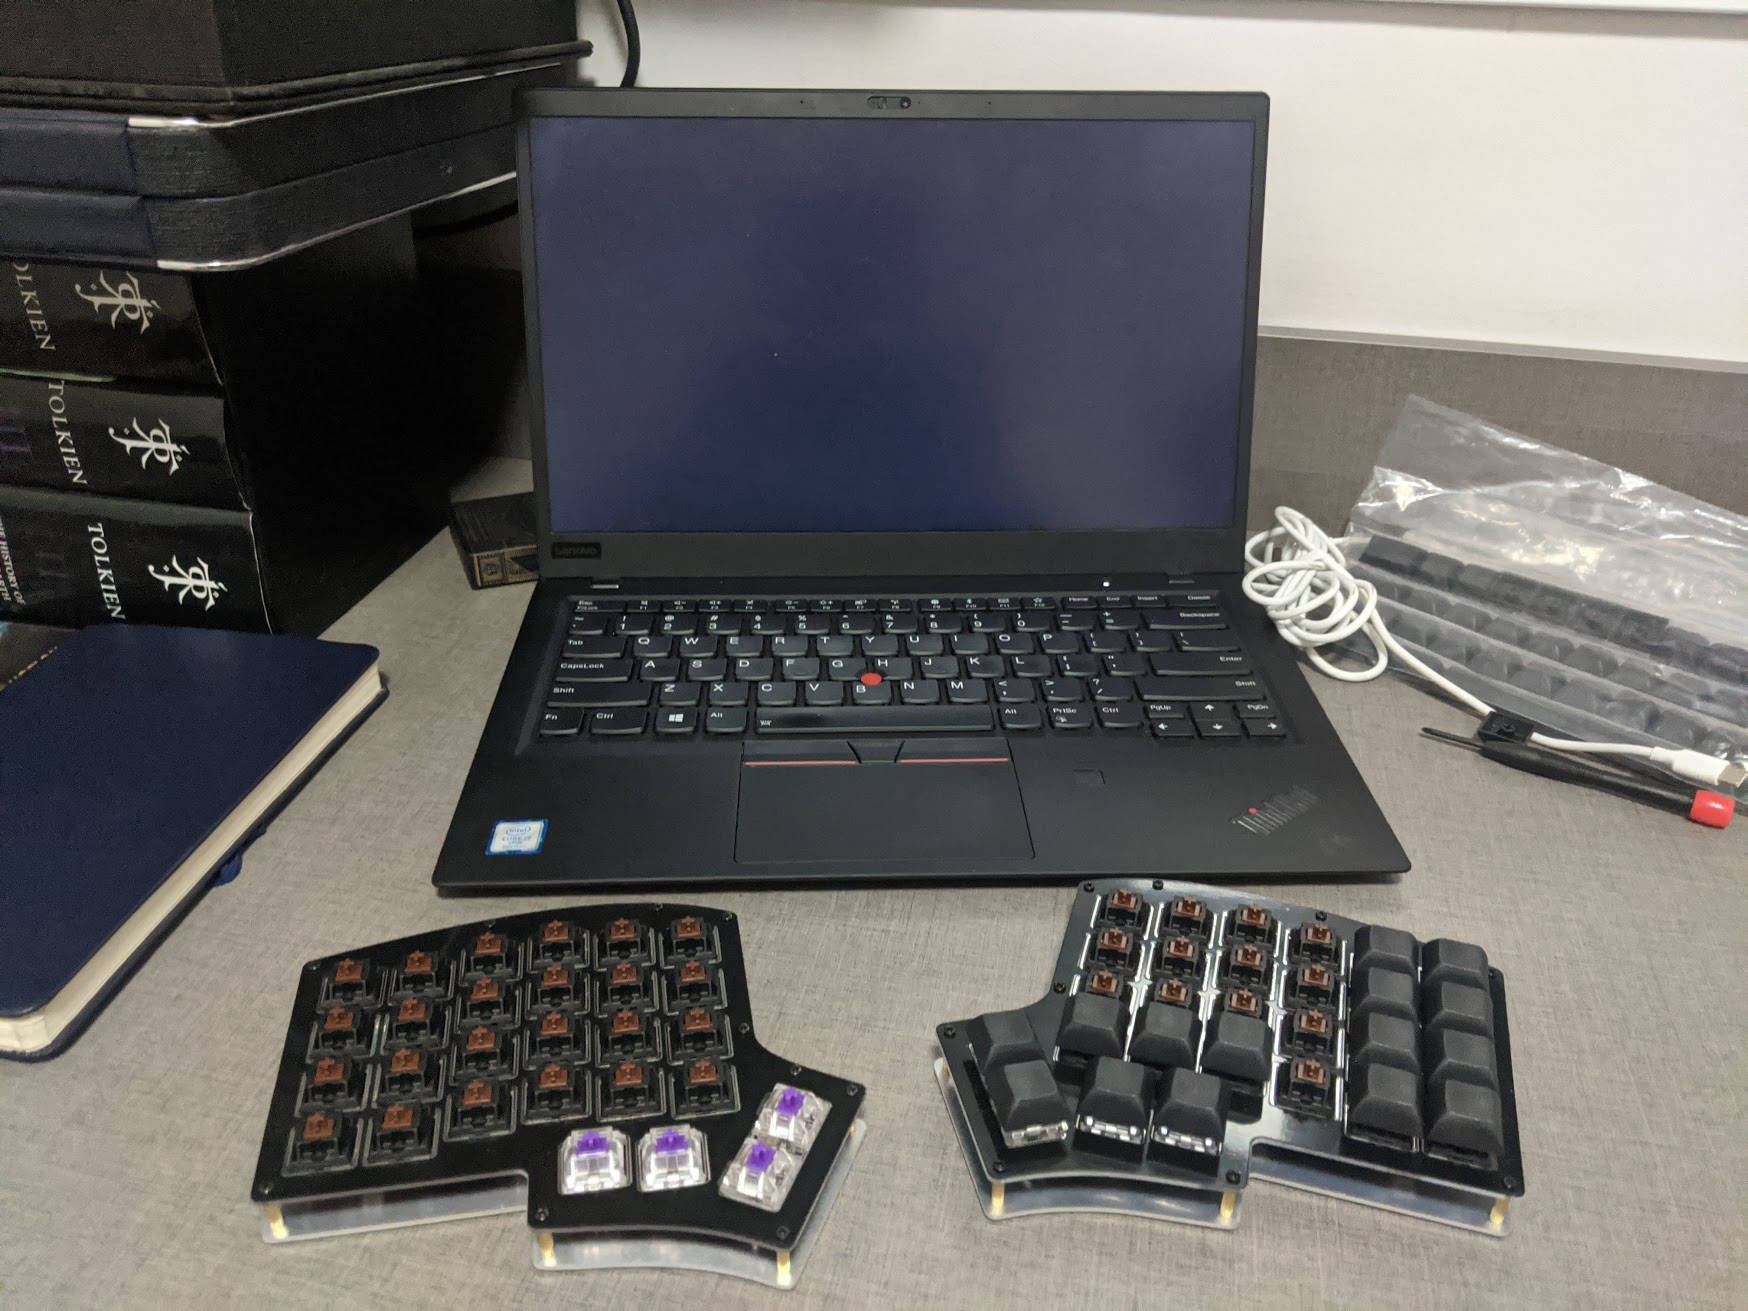
Now that everything is in place, let’s add the keycaps.
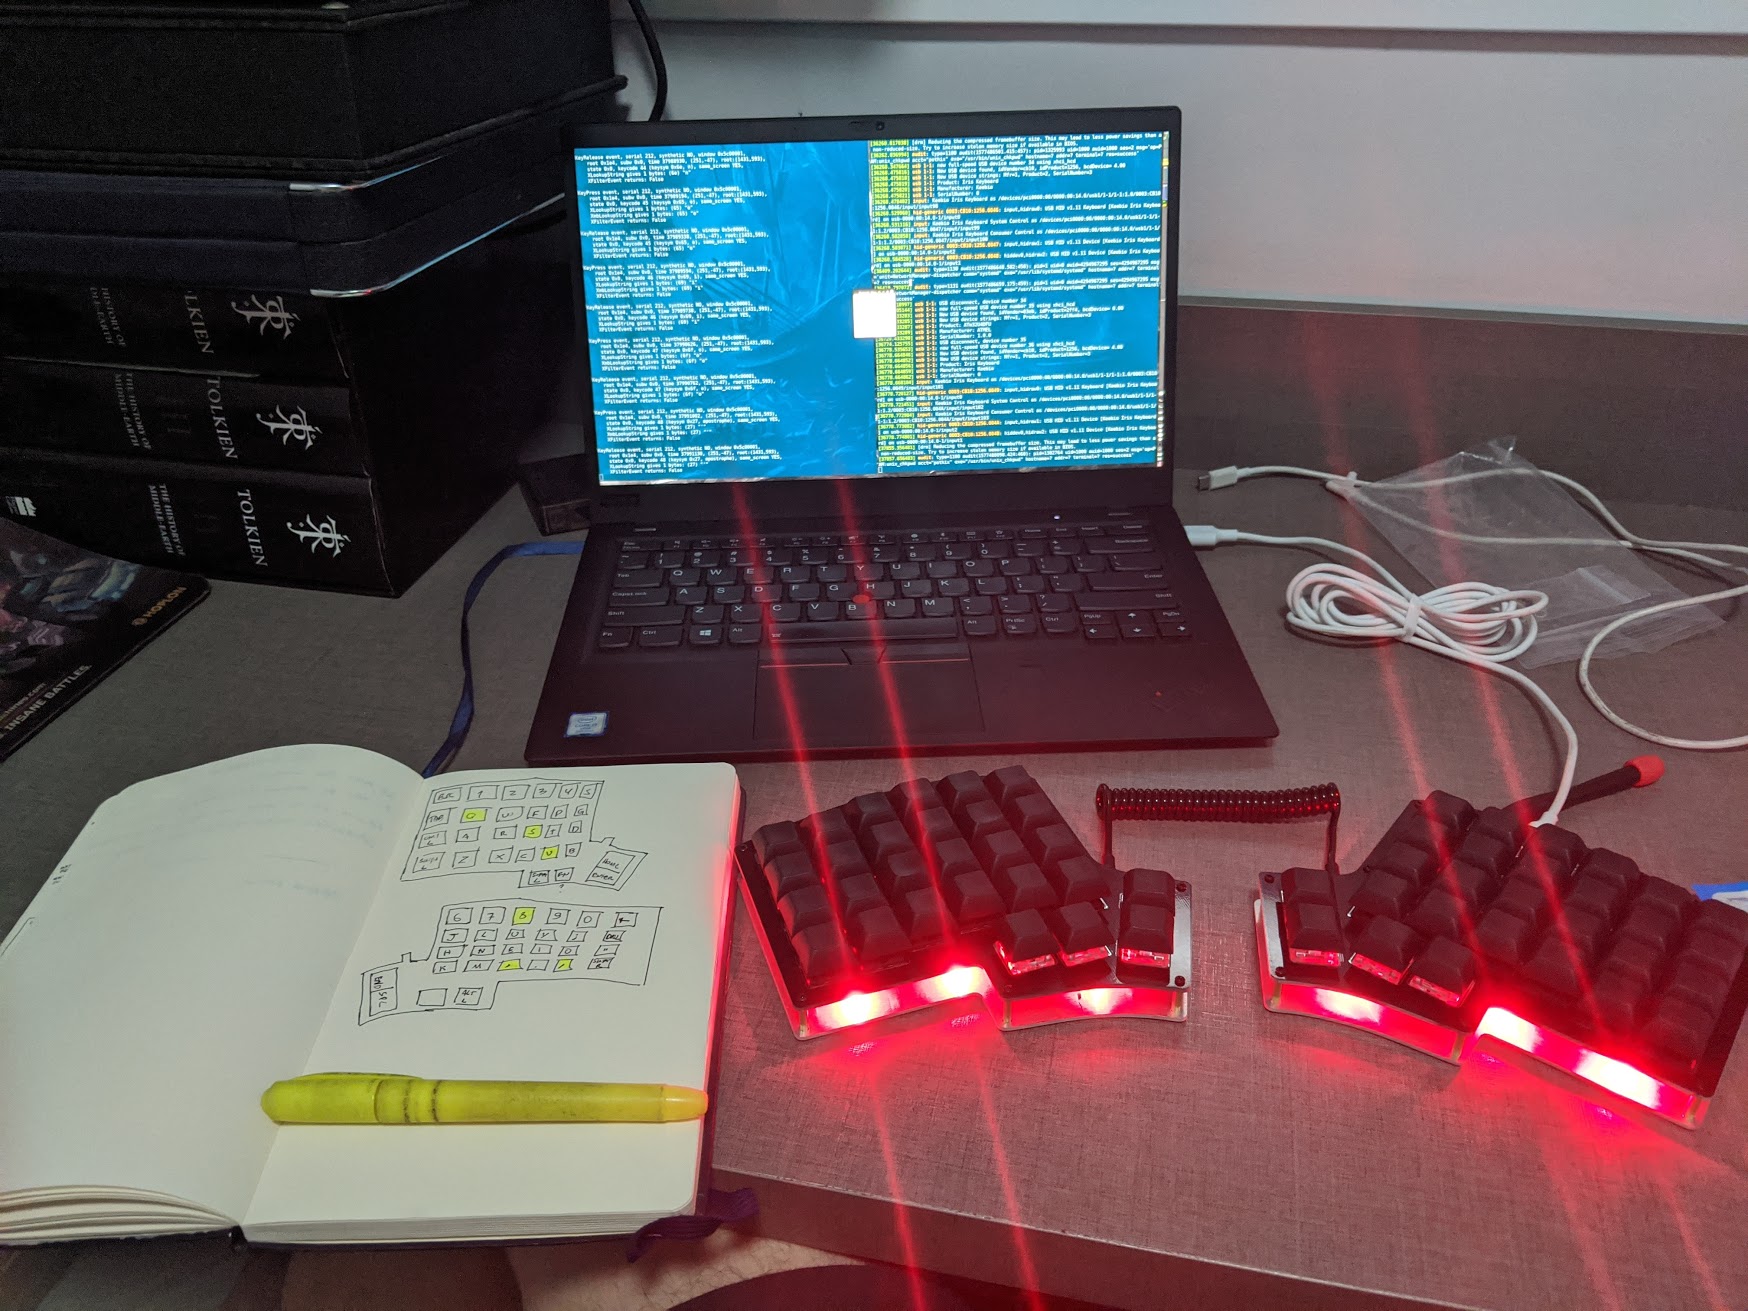
Here it is! The first version is done! 🎉
It’s expected that some keys will stop working after adding the keycaps, especially in my case since my soldering skills are not good. I went one by one and found some malfunctioning keys, so it’s time to get back to soldering.

That’s it! Everything done for now and the keyboard is usable already!
PS: Here is the album with all pictures I took while assembling the keyboard. 😉
Debugging
At some point I started having some weird behaviors like this “heaven and hell” LEDs:
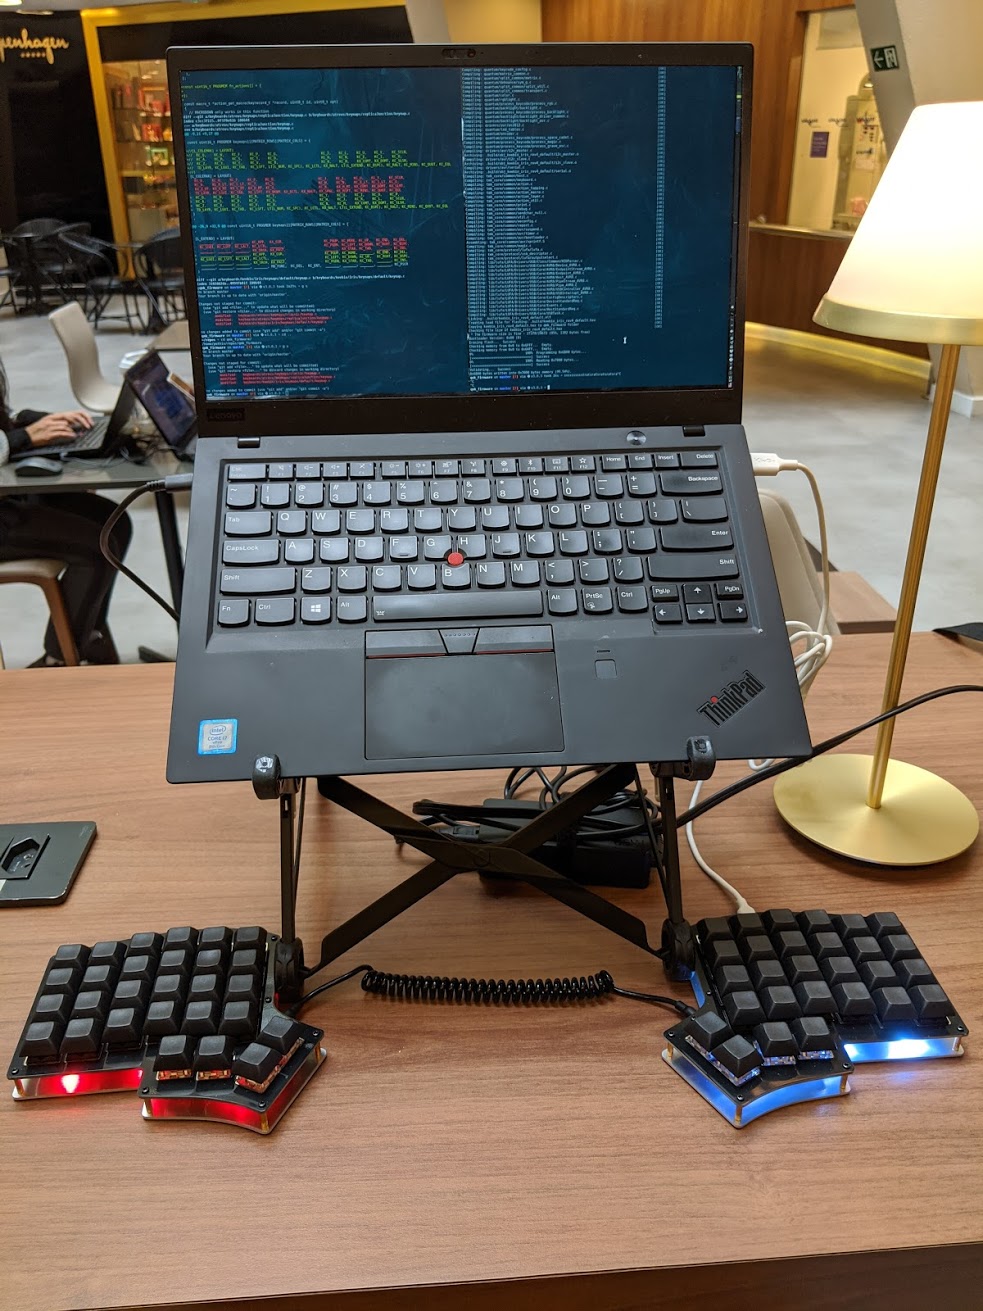
And after some time the keyboard just got disconnected with a yellow LED light:
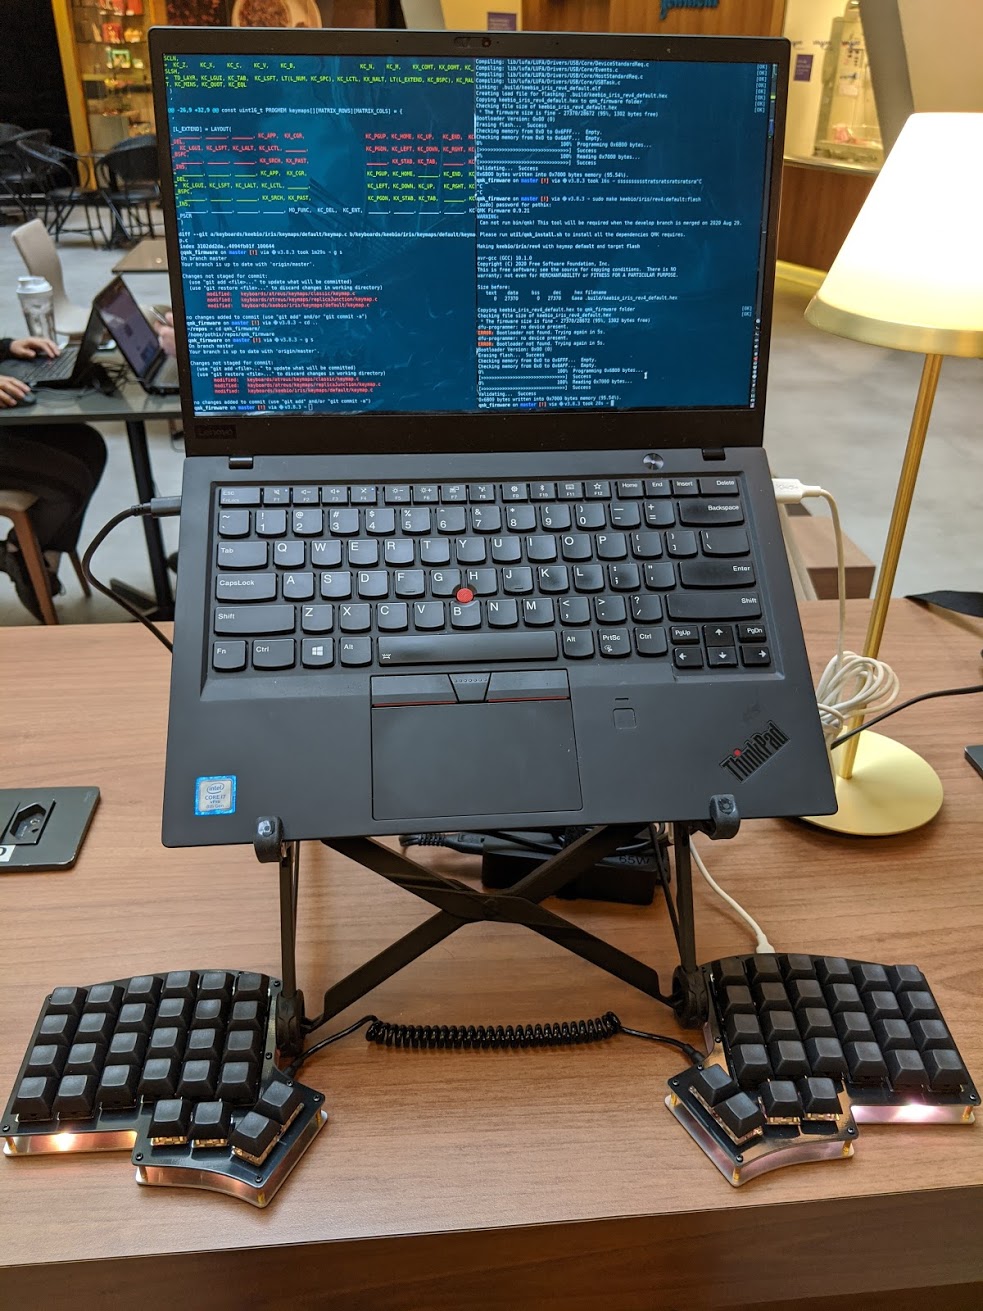
After disconnecting, the keyboad was not responding anymore. No LEDs, no
dmesg message or anything. :(
I used the multimeter to do some basic continuity tests (thanks for the
guidance @rhruiz) but found not short circuit or
anything like that. After some time and a RESET while plugged, the keyboard went
back to life, showing itself again on dmesg.
I saw a dmesg message complaining about the USB cabe and we (me and rhruiz)
have a feeling the max brightness on both sides was too much too handle. 🤔
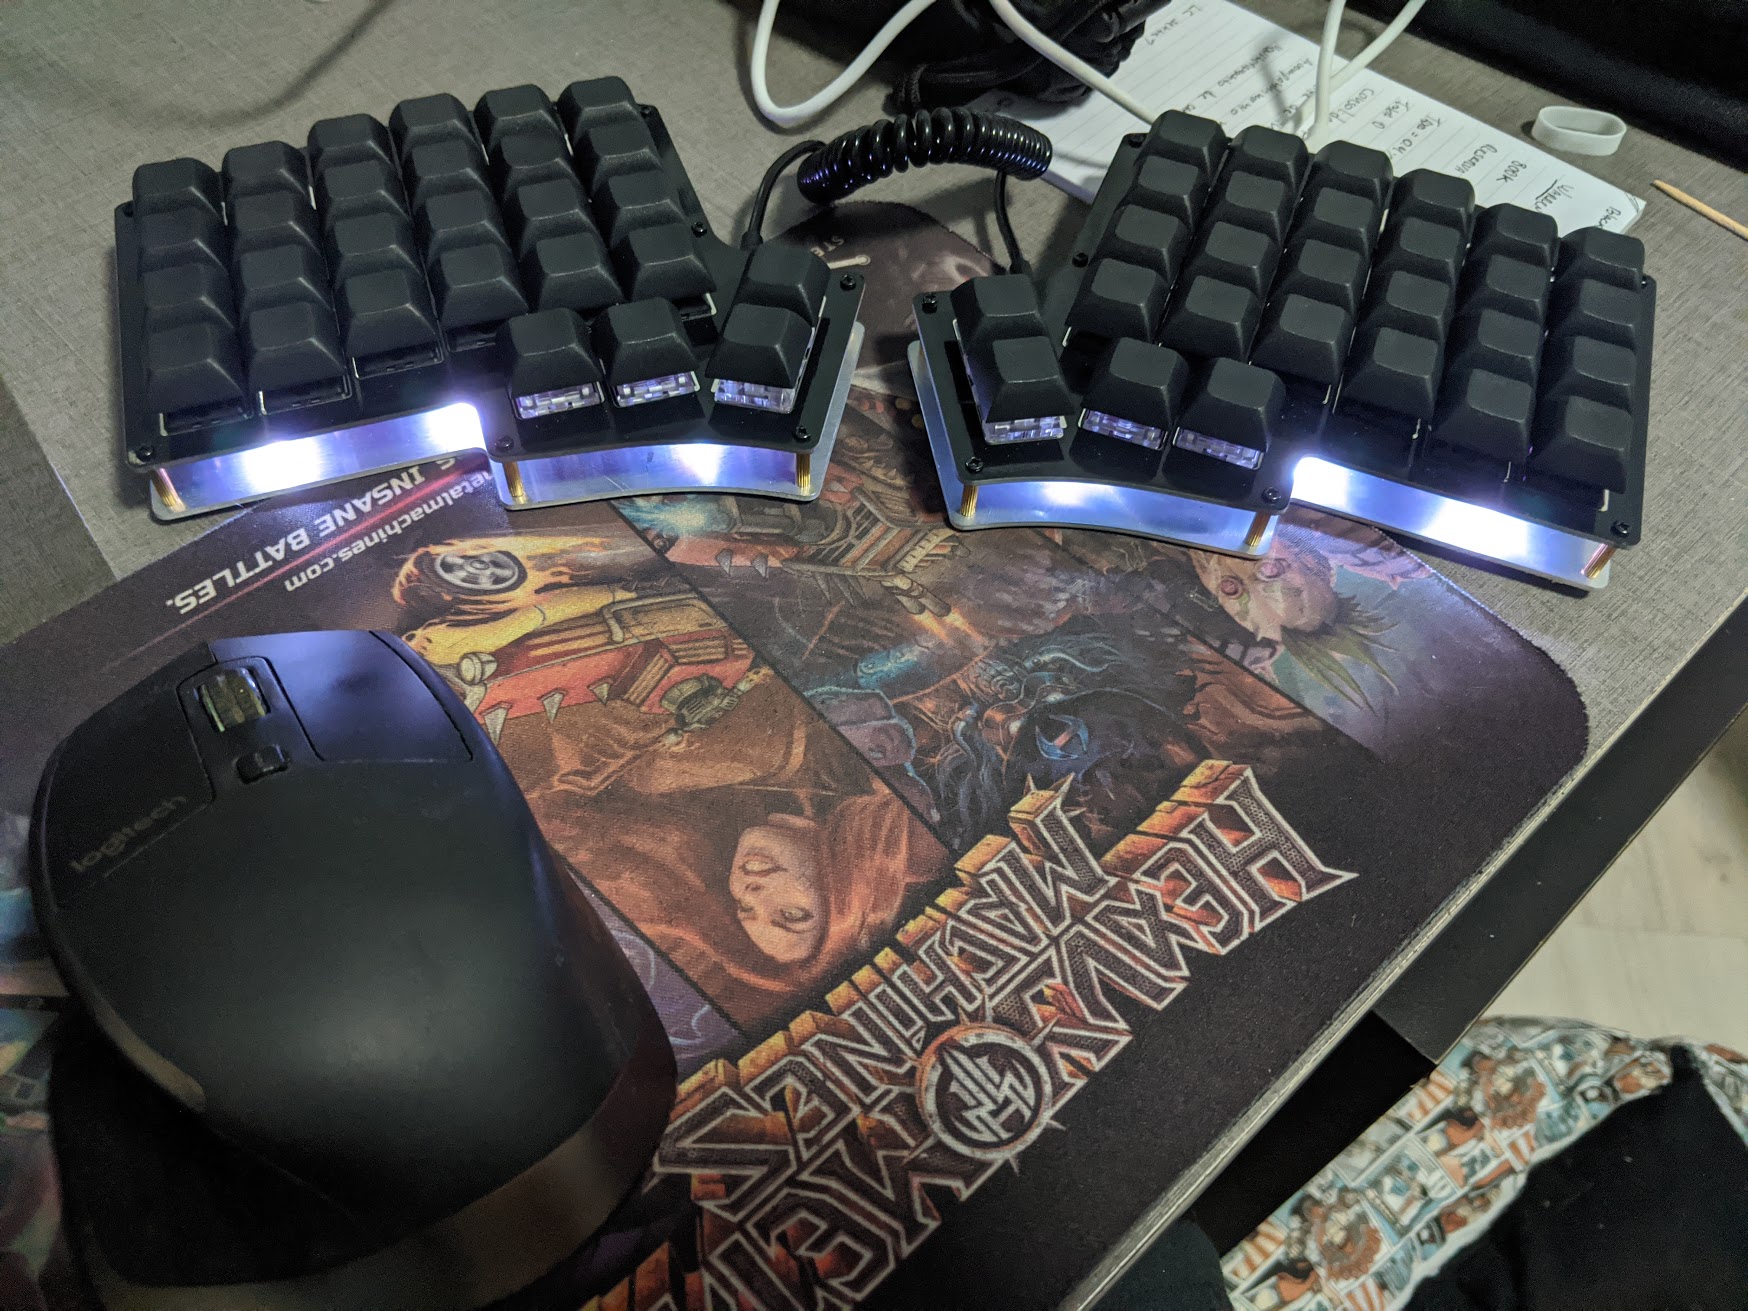
After all of that, the keyboard was reborn and baptized as Telperion:
It’s important to keep in mind that DIY keyboard will certainly require some sort of maintenance from time to time. This is especially true if it’s your first keyboard (as it’s mine!) because your soldering may not be the best and it will require some small resoldering fix after some time.
Customizing the firmware
The first thing to do is to clone the qmk firmware repository. I suggest forking it and cloning your own fork since you will probably change it. 😉
After cloning the repository, you have to install the software needed to compile and flash the firmware. There are two (maybe more) ways to do that:
- You can use docker via
util/docker_build.shscript. It would be something like:util/docker_build.sh keebio/iris/rev4:default:flash - You can install all the tools locally via
util/qmk_install.shand flash withmake keebio/iris/rev4:default:flash
I would love to use the option 1 but for some reason docker cannot find the keyboard via USB and I had to install the tooling locally. I suggest you to start trying docker and if it didn’t work, go for option 2.
Compiling your own keymap
I created my own keymap inside my fork so it would be easy to keep the main code updated. So I have to use the following command to compile it:
make keebio/iris/rev4:pothix
If everything goes right, I just can just flash it.
Connect the keyboard to the USB port and hit the RESET button. It may be via RESET button at the back of the keyboard of actually hitting the RESET key on the “LOWER” layer (check the default keymap for more info).
After that, run the following command:
sudo make keebio/iris/rev4:pothix:flash
I’m not able to flash it without sudo, so keep it in mind when flashing.
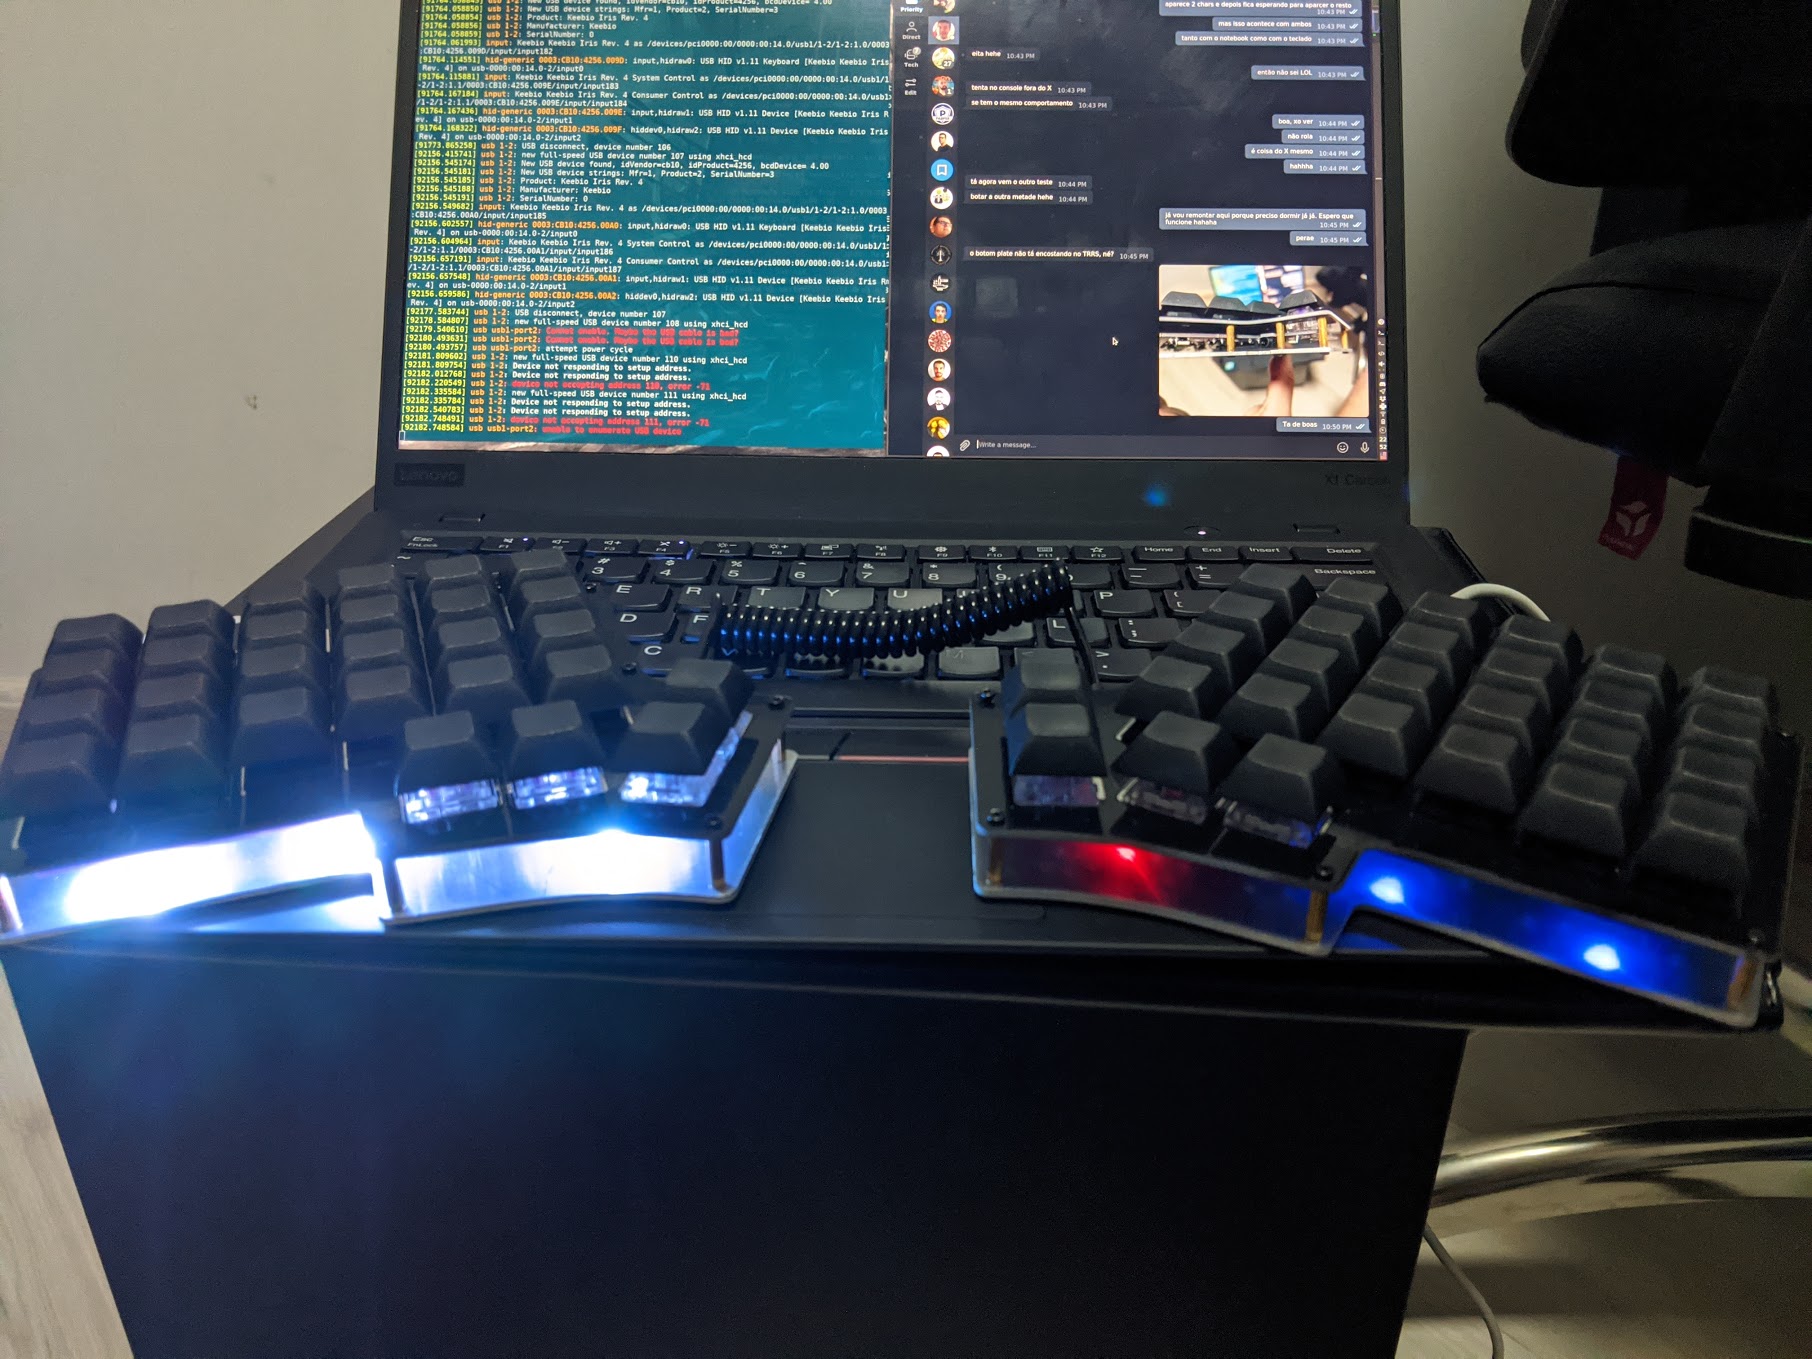
Remember to flash both sides because you may get incompatibilities and weird behaviors sometimes. Here is one I had:
Optimizing
Depending on what you’re using on your keyboard, you may exceed the maximum size for the binary. If this is the case for you (as it was for me :P), you can start disabling features you’re not using.
This article was very helpful for me to understand what can be done. If you want some examples, check my rules.mk and config.h.
Conclusion
It’s not cheaper to build your own keyboard as one would expect, but it’s definitely fun if you want to get your hands dirty with soldering to build something custom for yourself. I learned a lot in the process and I hope to be able to maybe build another keyboard in the future.
It will probably not be the last keyboard I will build. I still want to build a dactyl-cc at some point to take the place of my current Kinesis Advantage. It’s a handwired keyboard, so I will have to move to the hard version of keyboard assembling. :)
Happy keyboard building! ⌨