3 minutes reading | Também disponível em 🇧🇷
3D printing the Dactyl-cc case
This is another post of my dactyl series. This time I’m going write about the process to make the 3D printed case, and prepare it for the keyboard.
Unfortunately, the process of assembling the keyboard is taking much longer than I anticipated. Being a parent of twins takes a lot of energy, and my predictions were very distant from the truth (for a change!). For this reason, I’m posting a step by step of what I’m doing with this dactyl project.
Quoting
There are some websites acting like marketplaces for 3D printing. One of them is treatstock, but there’s also local people with 3D printing using other places to advertise, so I decided to get some quotes for the Dactyl-cc printing.
Treat stock
On treatstock the process is quite simple to get a quote. I just found a place that delivers to my location, uploaded the STL and got a price. Simple as that. The problem is the price, because I got no less than R$300.
Mercado livre
My next step was to look for a seller providing this service via Mercado Livre, since we can find anything there (just like eBay, giving its own proportions). I found a person doing it for R$240, but the process of getting the quote was not very good. The person didn’t even know what exactly he would print 🙄.
Recommendation
This is always the best way to go. If you have a recommendation, there’s a good chance things are going to work better, IMO.
A friend of mine, from a Mechanical Keyboards Telegram chat, have a contact who printed his redox keyboard case for a good price, so I decided to contact this person and ask for a quote. He could do it for R$100, which is a pretty good price.
The process of getting the quote was great. We talked via Telegram, and he got the STL files to analyze before getting back with the quote. I would totally recommend it. If you’re from Brazil and is looking for some 3D printing for your keyboard, I totally recommend talking to Renato. His nickname is @renny_br on Telegram.
A favor from a friend
I was about to do it with Renato when I mentioned to a friend (agaelebe) if it was possible to use the printer of the hackerspace he is a member (Garoa Hacker Club) and he said he was going to check.
After some time, he got back to me and said he could print it himself or ask one of his friends to do it. He will just need the material if it’s not available. It turns out that his friend Marcelo Campos, said he could try to print this.
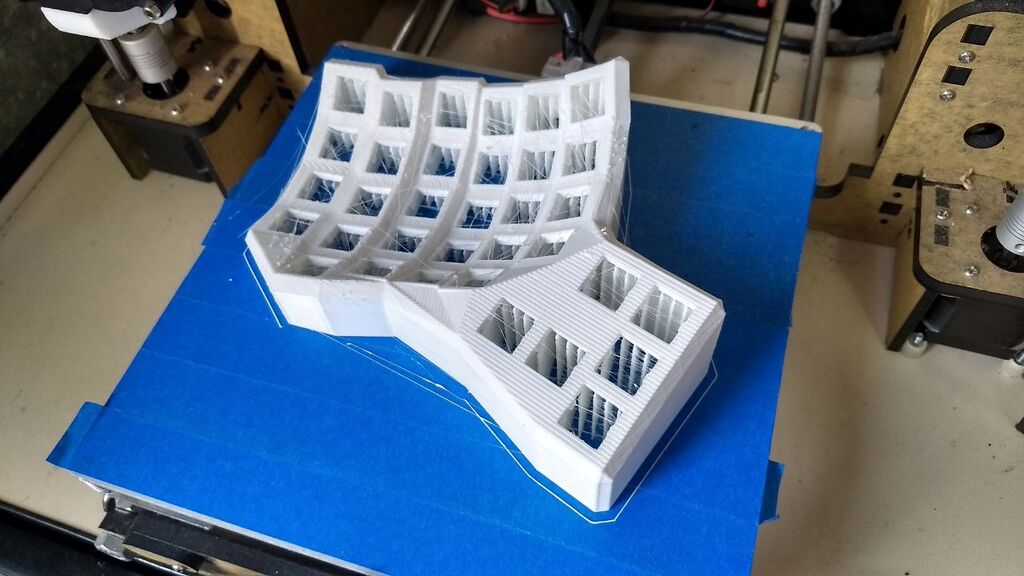
This is the left side right after printing (in September 2020, but I’m only posting about this now. Thanks a lot, Marcelo!):
The results when I got the case
After a few days, I was able to get the case from agaelebe and check it myself. For those who are curious, this is the raw format you receive right after printing:
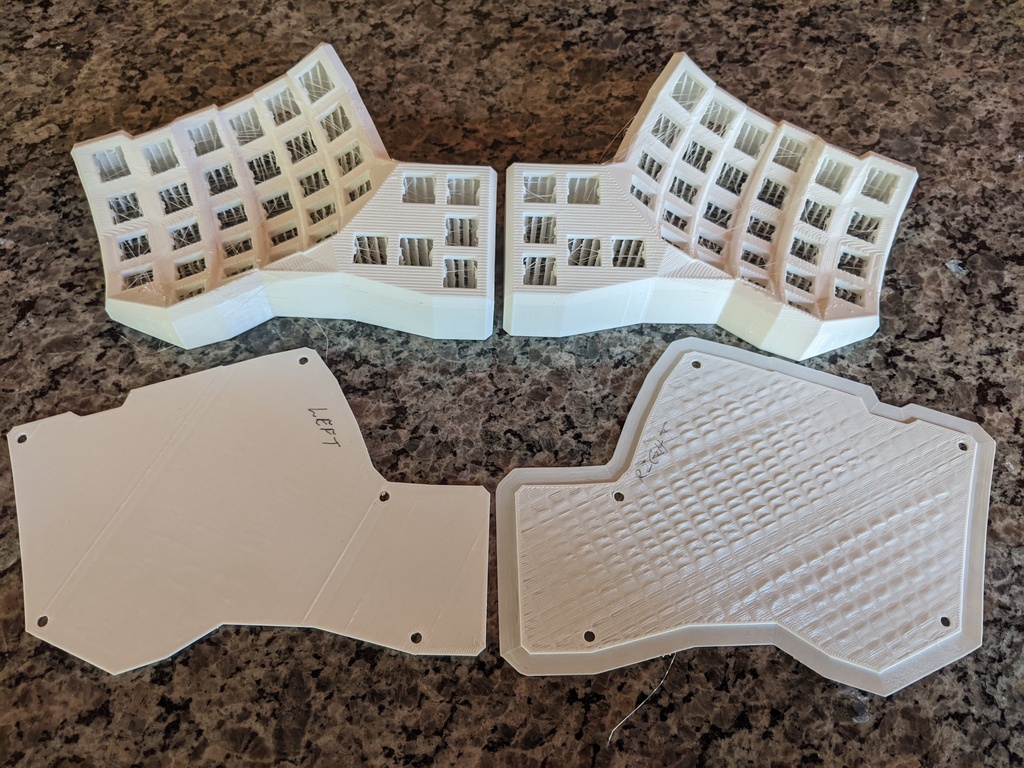
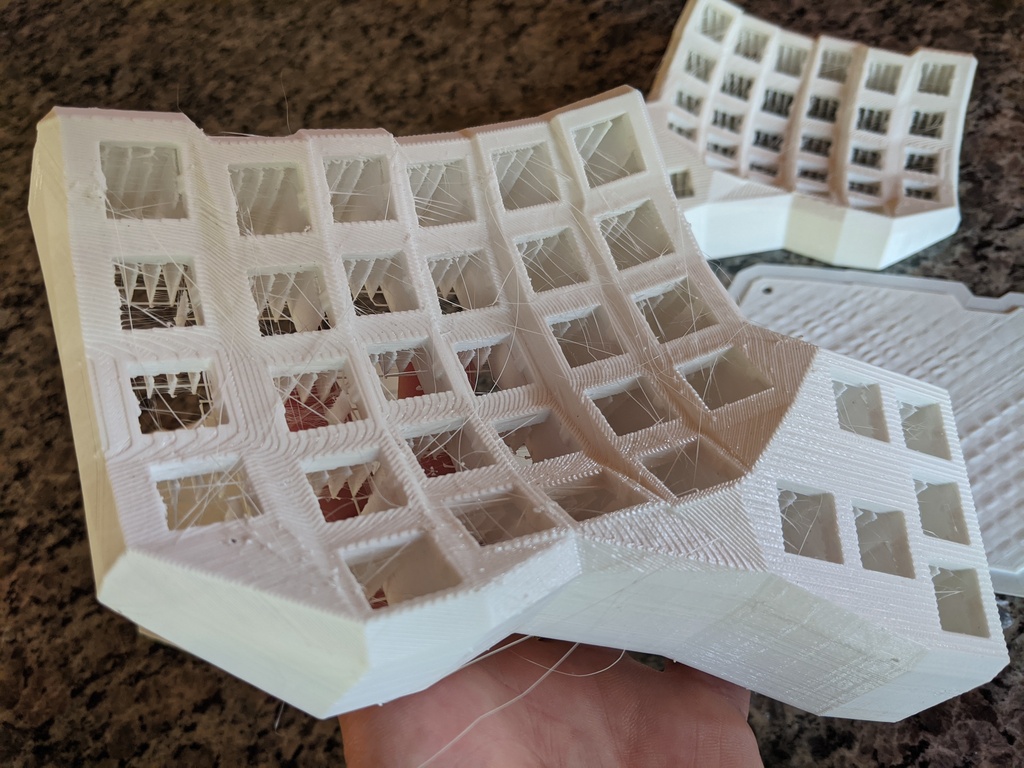
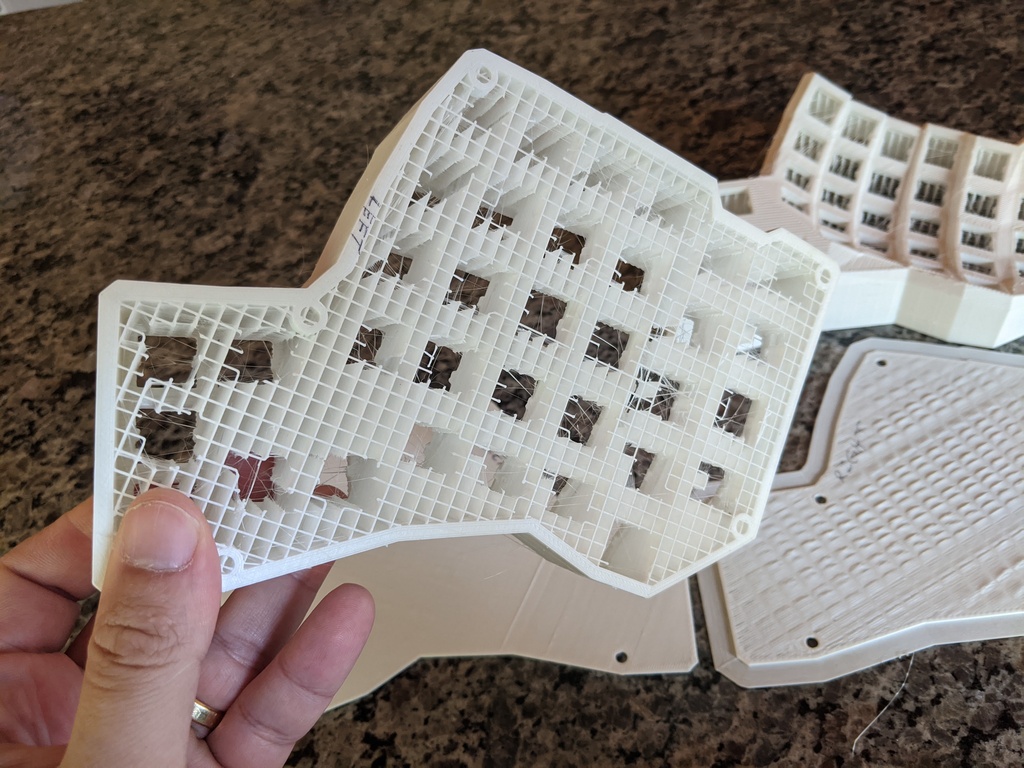
It was the first time I got some raw result of a 3D printing process in my hands, and I found it quite interesting.
I was very curious about how it would look like with keycaps, so I cleaned it up and added the switches and keycaps to check (I will talk about the process in the next post). This is what I got:
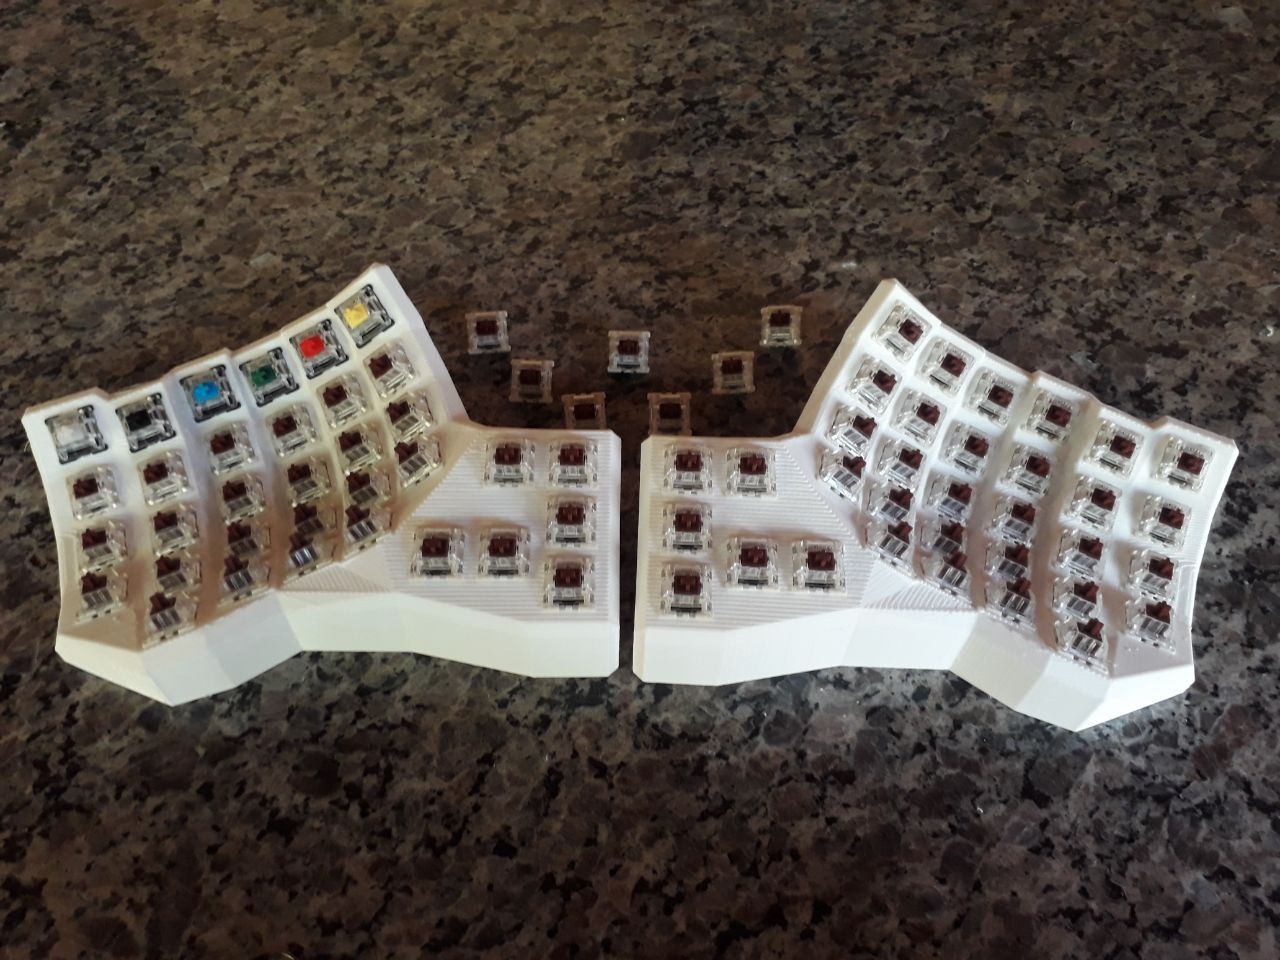
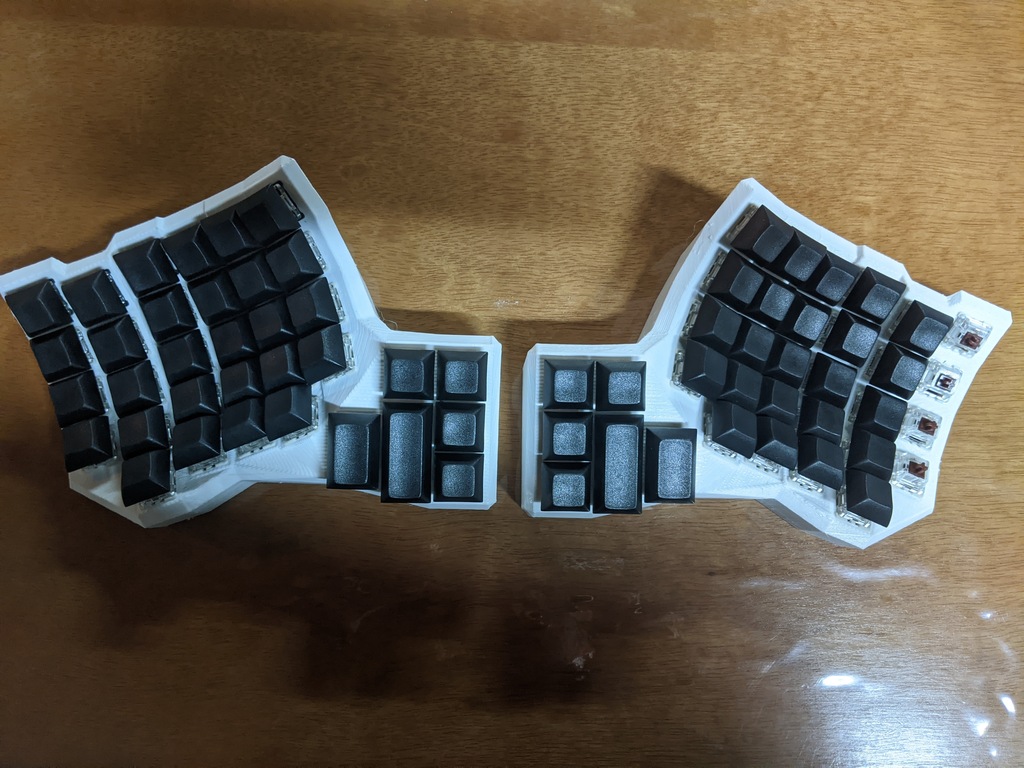
Not pretty I would say, but it felt great to type on it. It almost felt like my kinesis, and I still want to improve its aesthetics, so it motivated me to continue.
This whole process was done in 2020 and the current version (still WIP) is more advanced. I will post about the cleanup, sanding, and painting soon. 🙂