3 minutes reading | Também disponível em 🇧🇷
Testing a promicro
A lot happened since my last post and all parts are already here! 😃
It was expected that I would not have that much time to work on the keyboard when all the parts arrive, this will be a long journey. The only thing that I wanted to do as soon as possible was to check if the products were in a good condition.
These are cheap parts coming from China in a month-long journey, so it’s important to check if they are working as expected while I still can open a dispute with the seller if something is wrong.
Most parts are very simple:
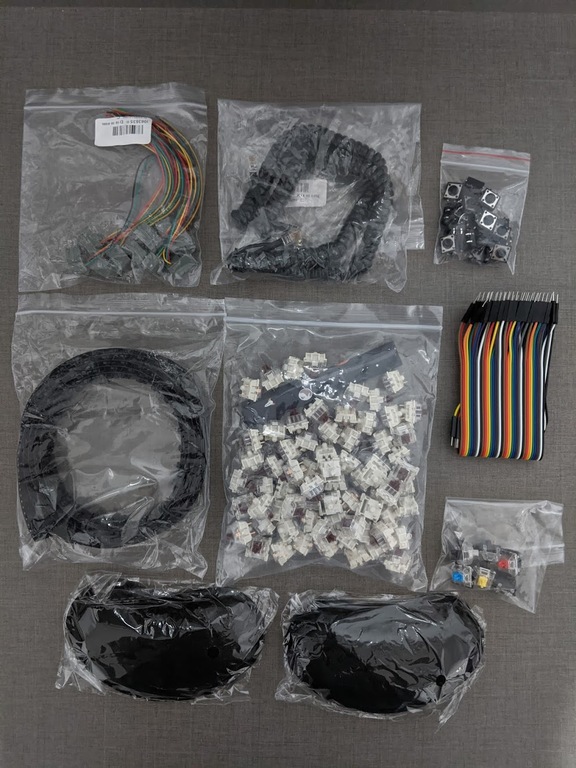
I tested the switches with a multimeter just to be sure they were doing their job. It’s a simple continuity test: Each probe touching one pin and pressing the switch to “hear the beep”.
The part that I was mostly interested in was the microcontrollers:
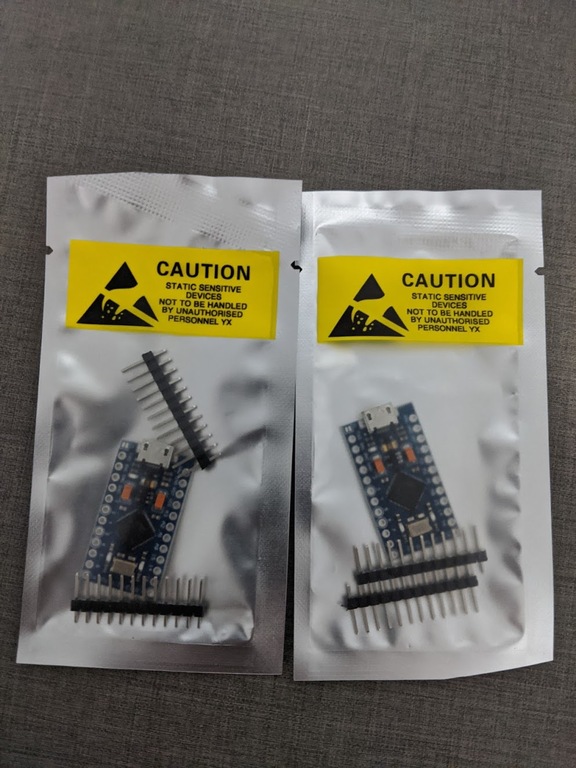
I bought a cheap Arduino promicro and I wanted to be sure it was working. To do that, I connected it to the computer via micro-USB cable and flashed QMK into it.
Note: It’s important to be sure you are using a good cable that transmits both data and power. I was initially using a simple cable I have here that doesn’t transmit data and was quite sad none of my microcontrollers were working 🤦♂.
A friend of mine recommended me to try the Laplace firmware for the test because it was very simple to check and that’s what I did.
The process is straightforward:
- Connect the microcontroller via micro-USB
- It should be recognized on
dmesg(when using the right cable 🙄) and light up the red led - You need to reset it by shorting the right pins
- Run the flash command for the firmware chosen
The steps 1 and 2 don’t need further description but let’s go through the steps 3 and 4.
Reset the promicro
To reset the promicro, you will need a tweezer (preferred) or anything that you can use to short the two pins. Than you have to short the RST and GND pins while connected.
After shorting, you will see a different output on your dmesg (I suggest
keeping a dmesg -w running.
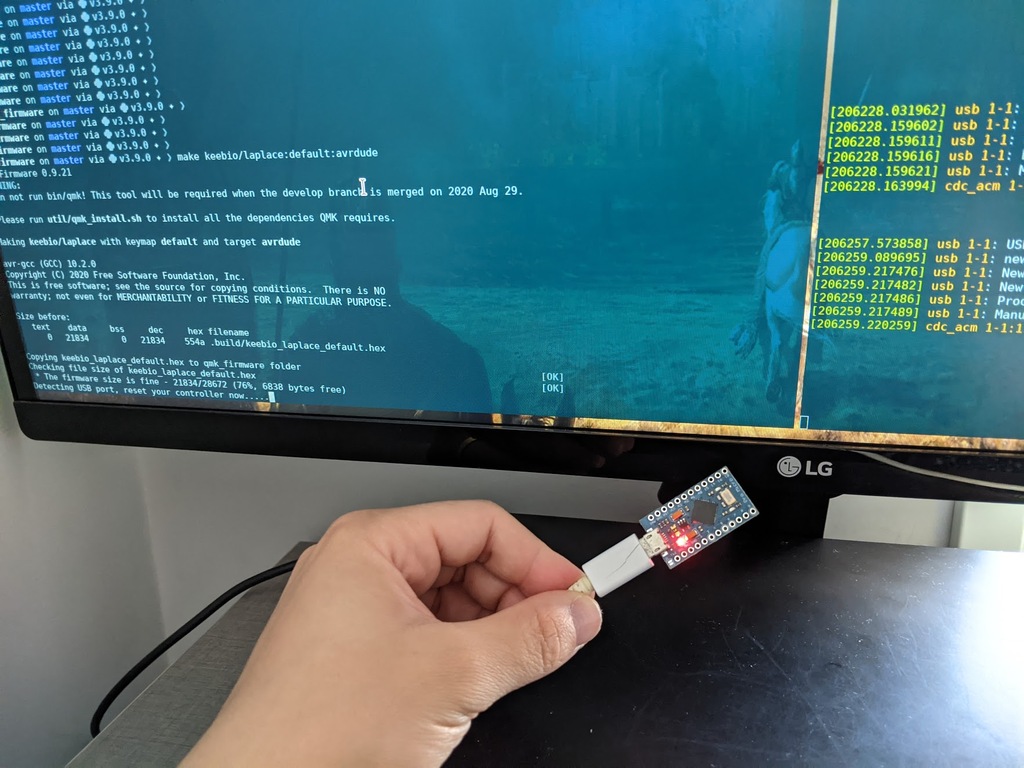
Flash the firmware
The process was quite simple. I just connected the microcontroller, went to the qmk firmware directory and ran the following command right after reseting the promicro:
make keebio:laplace:default:avrdude
and voilà:
Testing the promicro
Now that the micro controller already has a firmware loaded, I decided to test some of the connections to be sure it was working as expected. Again you will need your tweezers and the microcontroller connected to the computer.
I used xev to test. It only receives any events received by the X server on Linux.
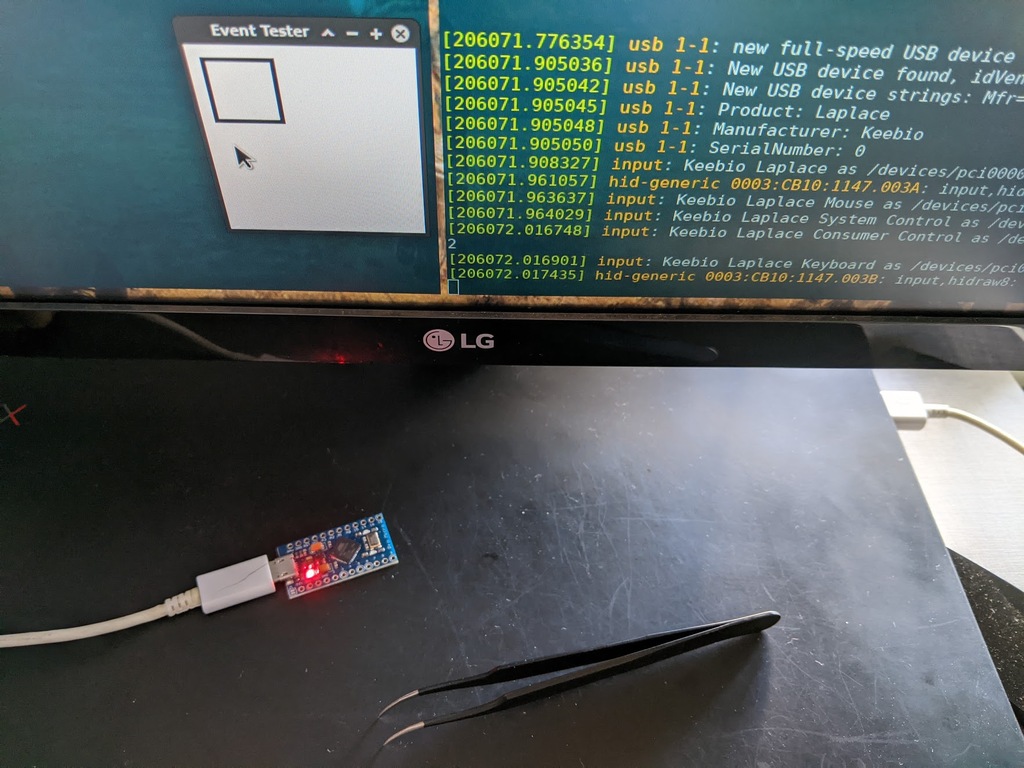
I used the matrix pins described on laplace’s firmware and started shorting. I was able to find ESC and DELETE, so I considered it as a working hardware. 🎉
That’s the simplest way I found (with some help, of course 😉) to test the microcontroller without assembling the keyboard. Hope it’s useful to someone else.